Update 10/16/22: This guide has been updated for the newest version of EmuDeck. We have re-worded some paragraphs and replaced photos to reflect this.
The Steam Deck is an insane device. Not just because of its ability to play tons of PC games, but it is also a desktop computer! Thanks to that, it opens up the possibilities of putting in other launchers, browsers, programs, and emulators. Emulators allow you to play games that have come out years and years ago on older consoles (NES, SNES, GBA, PS1, PS2, etc.). This is incredibly important today for preservation of some of the classics that will never be re-released or remade in their fantastic state. So with that, here is one of the easiest ways to set emulation up on your Deck.
NOTE: Emulation itself is completely legal. SDHQ does not condone piracy and will never point in any direction on where to get the games or BIOS for emulation.
Installing Emulators with EmuDeck
While you could download all the emulators and Retroarch by hand, there is a simpler and much easier way! EmuDeck is a script that will automatically download every emulator and configure them specifically for the Steam Deck hardware and gamepad. The best part is, it is super easy as well.
Step 1:
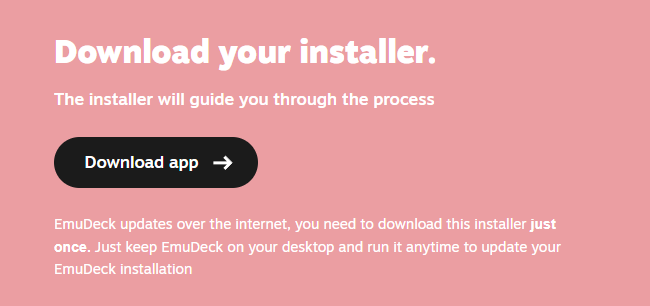
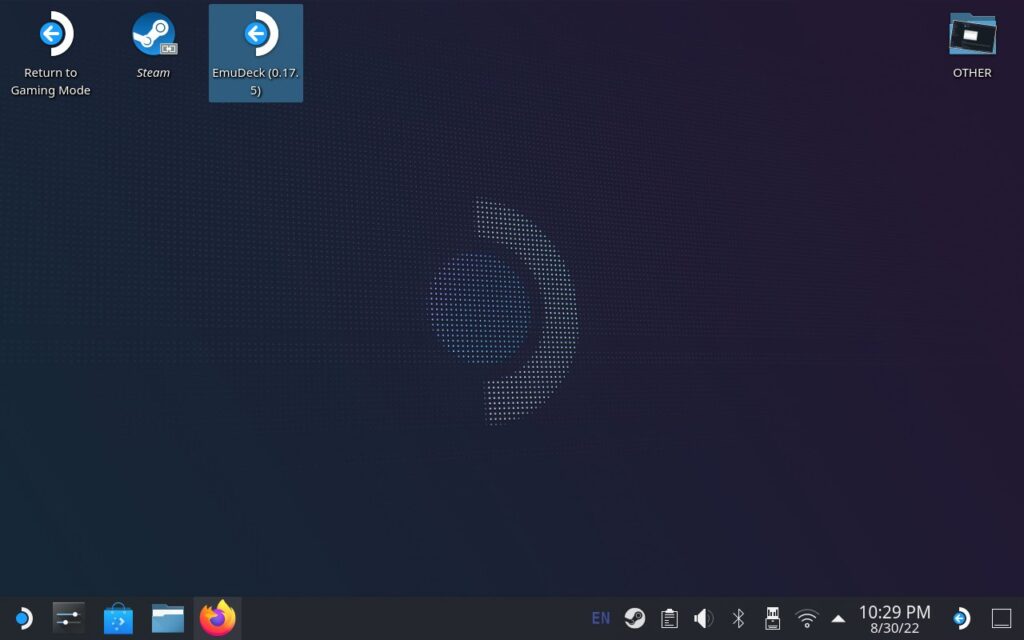
Head over to the EmuDeck website and scroll down until you see the "Download App" button and click it. Once that is finished downloading, move EmuDeck onto your Desktop. (Yes, there is a guide to installing it right above which you can follow as well).
Step 2:
Now double click and execute/run EmuDeck from your desktop. Once it opens, it will start the process. Once it is done, it will bring you to this page to select how you want to install.
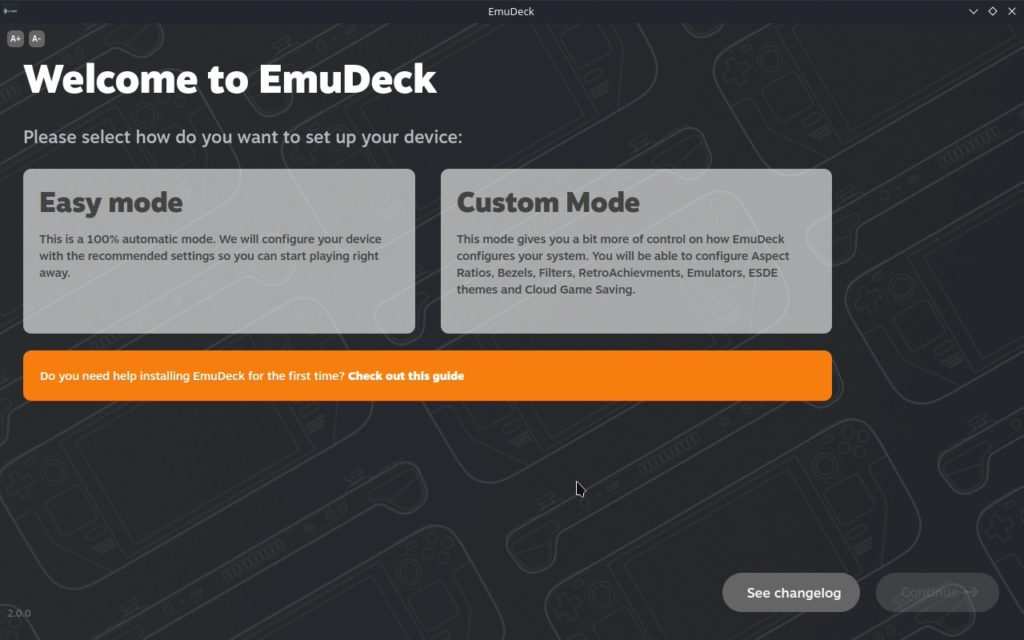
Then you can select "Easy Mode", which will just install and take care of everything, or "Custom Mode", which gives more specific controls over what is installed, including options like RetroAchievements. We will go with Easy Mode since this is a fresh install, though you can try out expert if you want to!
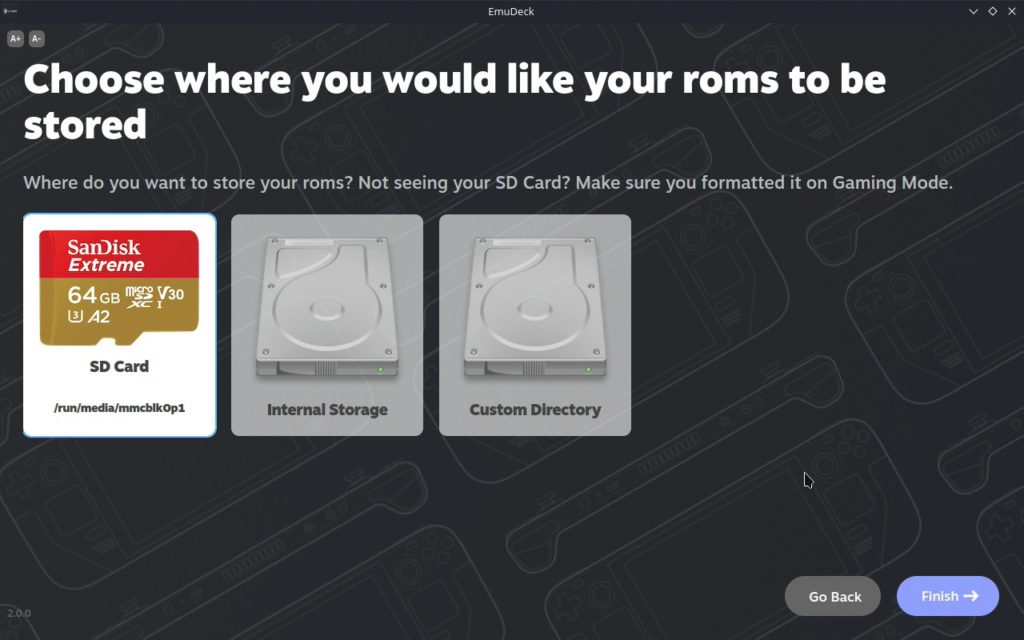
Then, it will ask where you want everything to be installed. This is completely up to you, whether you want it on the Deck's internal storage or the SD card. I put mine on the SD card personally, but it is up to you. After that is clicked, it will install the emulators, as well as EmulationStation-DE and Steam Rom Manager.
After it is done, it will bring up a window saying "Yuzu is not configured", just hit ok and ignore it. This message is talking about needing keys for the Yuzu/Switch emulator, which is not something we can provide or point in the direction to. Then, it will give you a little prompt showing where to put your games and bios, as well as giving a prompt to open Steam Rom Manager. We will circle back to it, so just hit "Exit" for now.
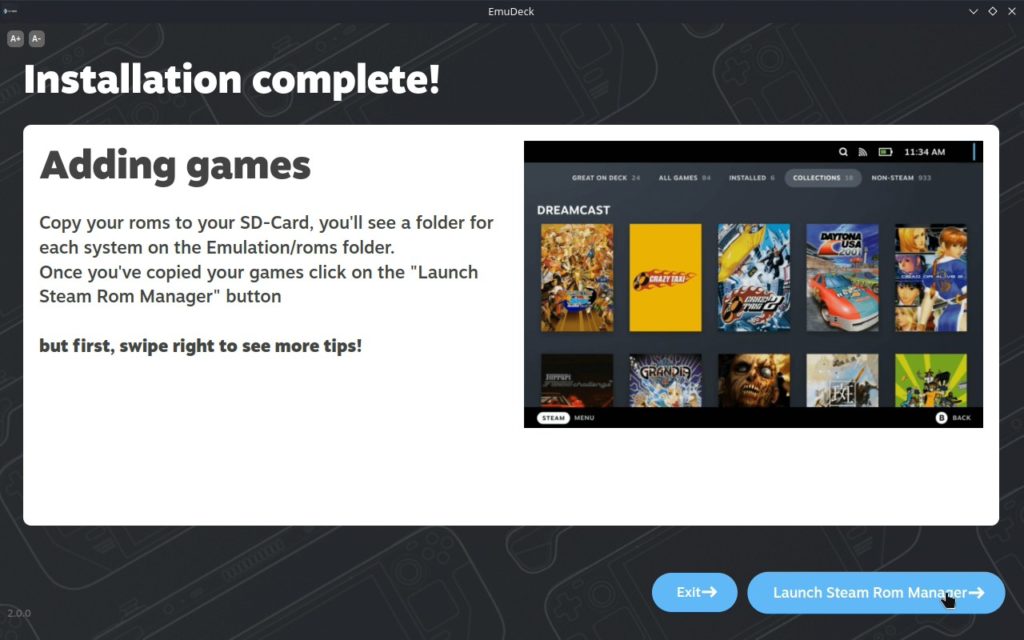
EmuDeck Custom Installation:
Now that EmuDeck has installed, everything will be mitigated into a single EmuDeck application on your Desktop. You can now access everything from there. When you double click it, it will check for an update and then bring you to this new screen.
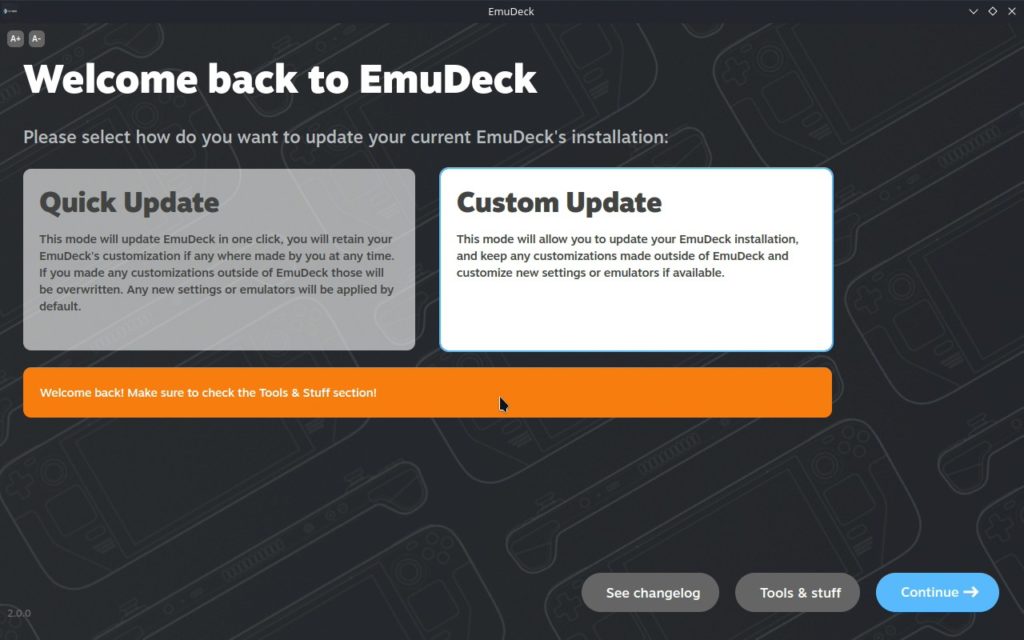
Here is where you will go to see the changelog, update your installation, and update/access any tools EmuDeck has. Let's start with doing a custom update. Here, you will be able to "reinstall" your EmuDeck but be able to customize the installation with new settings, adding in RetroAchievements, and more.
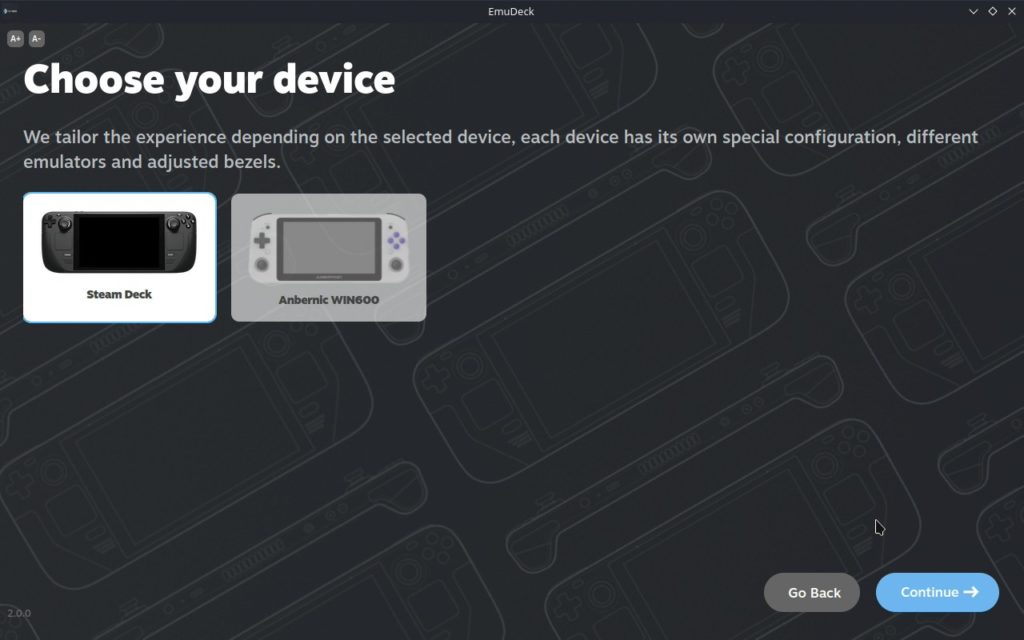
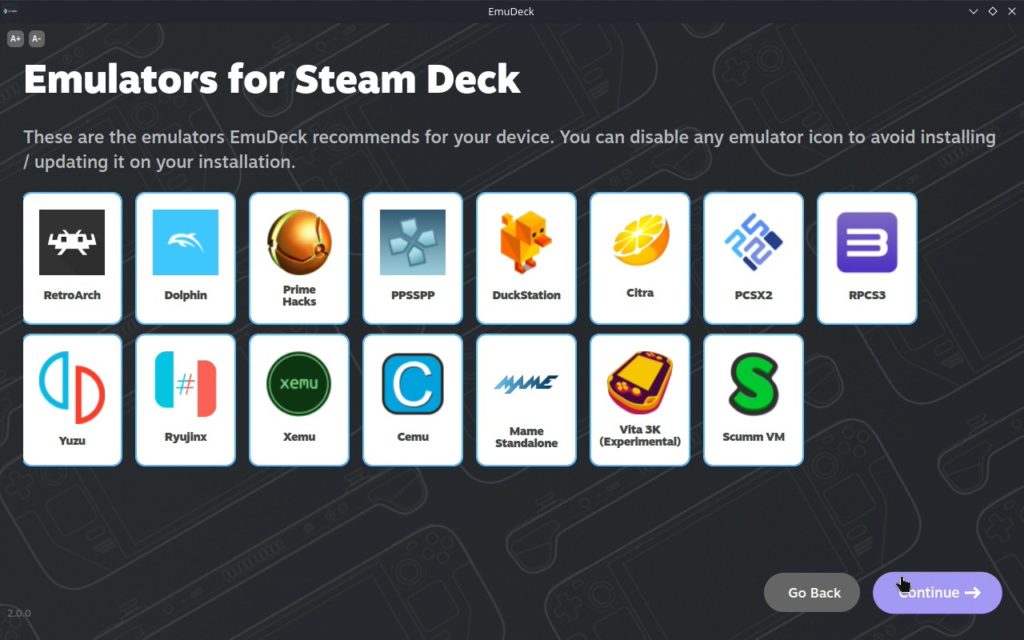
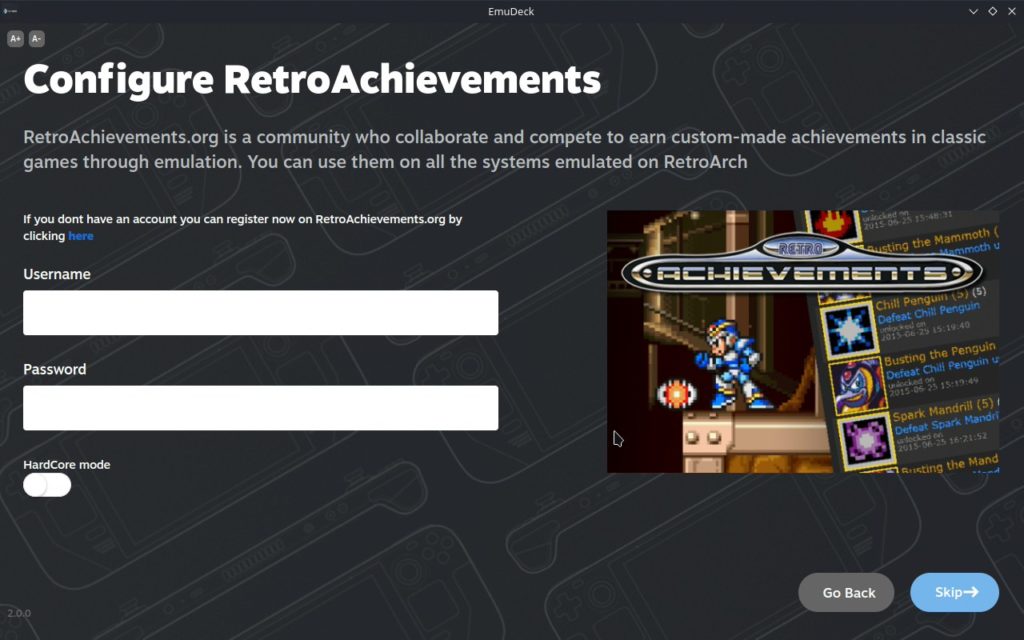
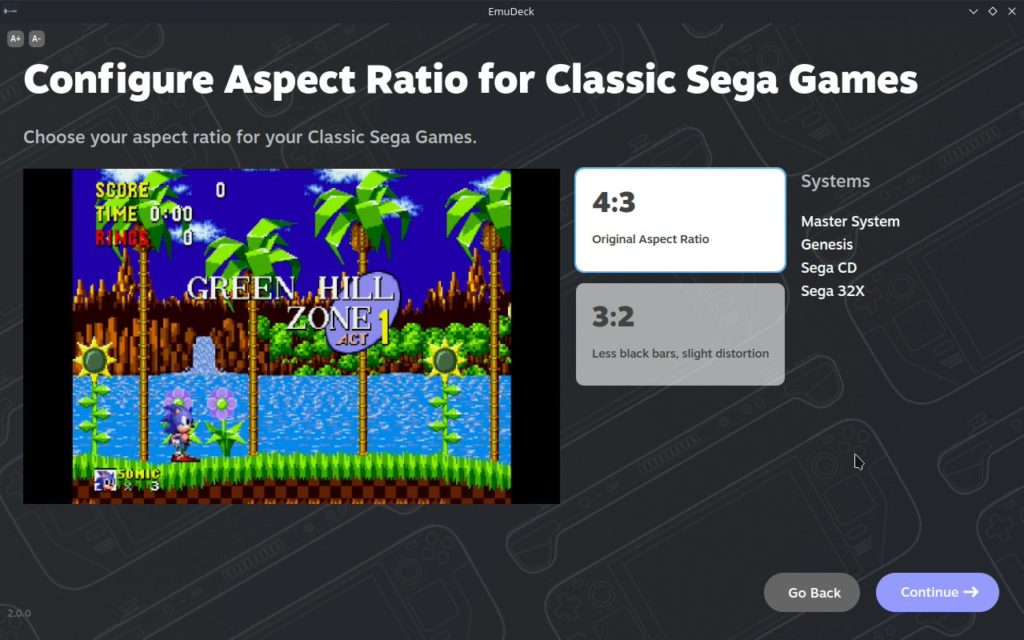
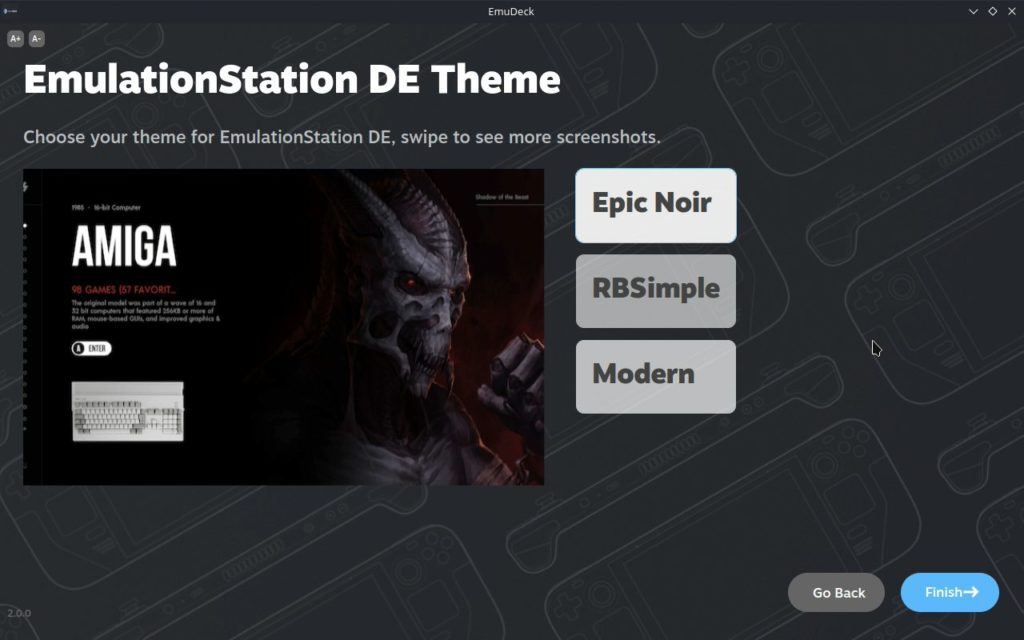
Each setting will have visuals, which helps out a LOT. Once done, you just go ahead and hit "Finish" and it will update the settings.
EmuDeck Tools & Stuff:
Now that setting up is done, you can get into the customization of EmuDeck. This will be done using the "Tools & Stuff" option. So once that is selected, you will be faced with many new options!
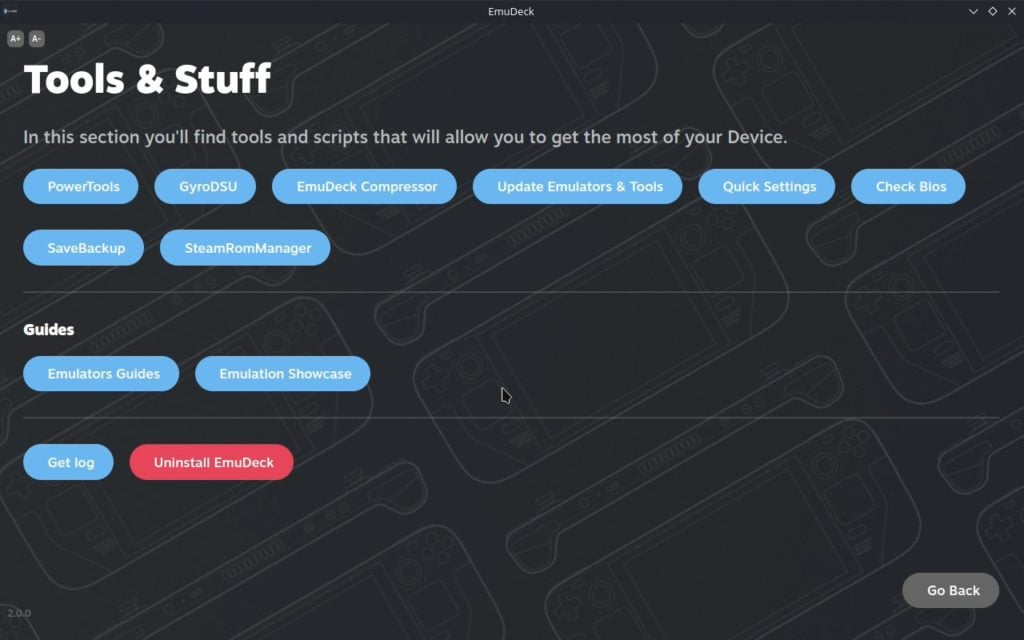
Each one is helpful, so I will go over them real quick:
PowerTools - A plugin that will allow you finely tweak your CPU and GPU to get better performance on some emulators.
GyroDSU - A tool used to enable gyroscope for Cemu/Wii U Emulation
EmuDeck Compressor - A tool used to compress Gamecube/Wii and PS1 games to save space
Update Emulators & Tools - This is used to update emulators and tools you are using
Quick Settings - This allows you to quickly change aspect ratios and enable bezels on emulators
Check Bios - A checker to make sure certain Bios files that are needed are present on your system in the right location
SaveBackup - A beta feature to allow you to backup your saves. Does not support device syncing yet.
SteamRomManager - The tool to add games directly to Steam. More on that below.
You can also access specific emulator guides and a showcase on EmuDeck itself!
BIOS, ROM Paths, and SRM vs ES-DE
Now that everything is installed, I will quickly go over where you will be putting your files:
BIOS:
BIOS files are proprietary files that are needed to run games on certain emulators. These files belong to their respective owners and aren't included when downloading the emulator. SDHQ can't provide the location to these BIOS files and we encourage you to dump them from their respective consoles that you own. When you have your files, you will put them in their respective folder inside the BIOS folder and into their corresponding folder depending on the system.
ROMS:
A ROM file is a game that is put into files usable by either a hacked console or an emulator. Just like the BIOS, we can't provide any links or locations to these ROM files, but the process of adding them is relatively the same. Once found, you will put them in the "roms" folder and under their respective folders in there. For example, GBA = Game Boy Advance, GC = GameCube, PSX = PlayStation 1, and so on. The only exception to this is the Wii U games. In the "wiiu" folder, there will be another "roms" folder, which you will put them in there.
EmulationStation-DE vs Steam Rom Manager
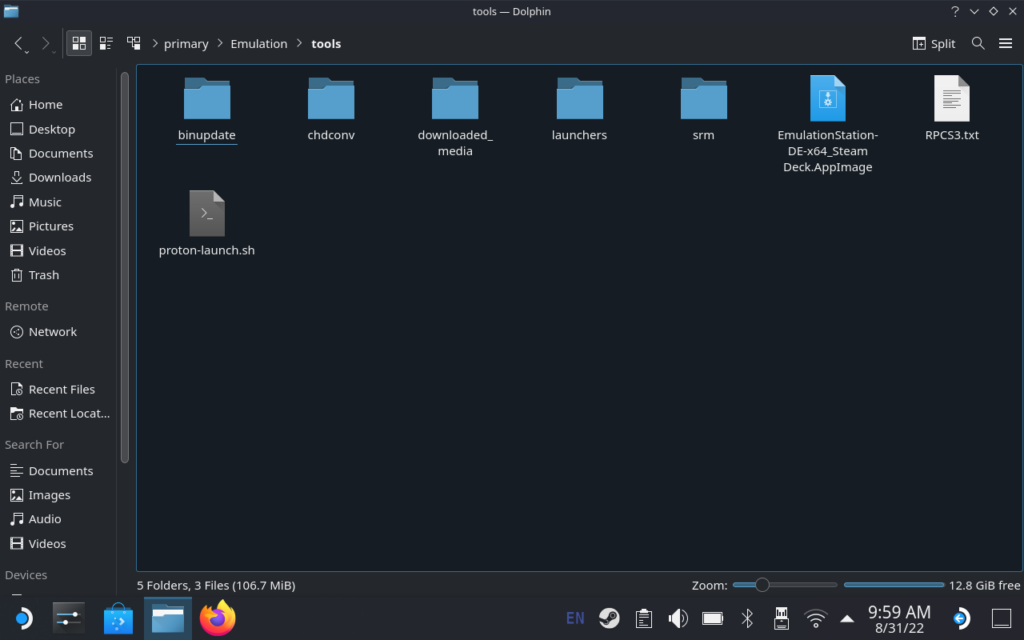
Now that you have all the files, now you will need to be able to play them in Game Mode! This can be done with two different tools provided by EmuDeck. EmulationStation-DE is a graphical frontend that allows you to play your games from inside a singular program. You would only have to add this program and then run it. This will launch and you can see all of your emulation games listed there for you. Steam Rom Manager, on the other hand, adds the emulated games as individual selections in your game mode library. Launching it from there will automatically launch the game. There are pros and cons to each of these methods, so it will be up to you which to use. We will cover both and they can both be found in the "tools" folder.
EmulationStation-DE
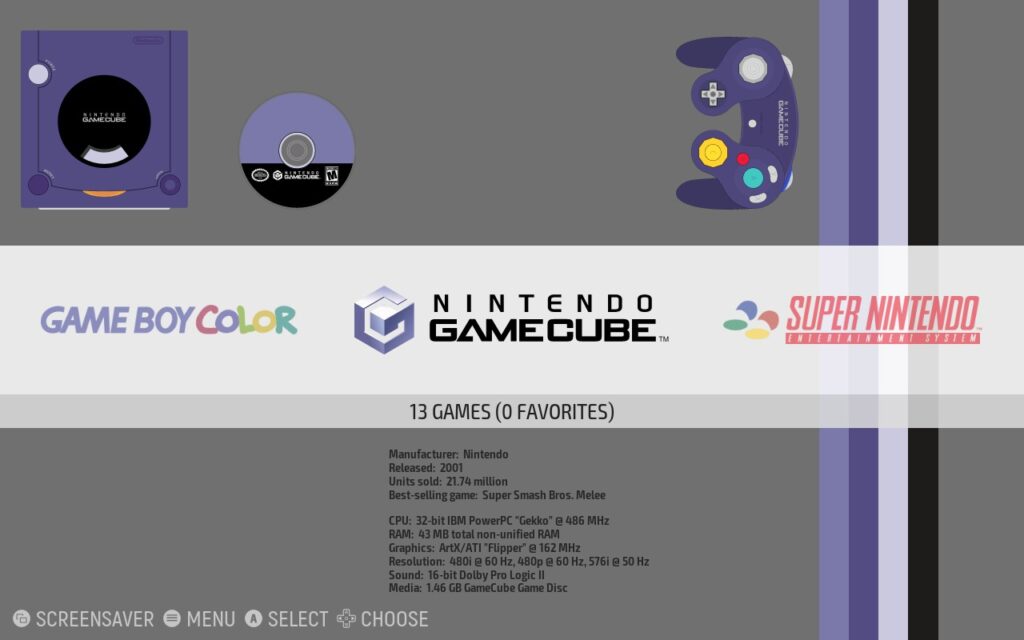
EmulationStation-DE is a program that serves as a frontend for emulating games. This means you will only have to open 1 program and access to every game will be in there. Personally, I prefer this method as I like to keep everything tidy and in one place.
Adding EmulationStation to Steam
First we just have to add the program to Steam itself to be able to play in Game Mode. For this, all you need to do is go to Steam and in the bottom left corner, click "Add a Game" and then "Add a Non-Steam Game". From there, navigate to your "tools" folder where EmuDeck installed everything and add the "EmulationStation-DE.appimage" file. Now you will have access in Game Mode, so lets hop on over there and check out the program itself.
Setting up EmulationStation
With the program set up, now we can start fine-tuning it. There are a couple of small things I would recommend to enhance experience, but in the end, these are completely your choice.
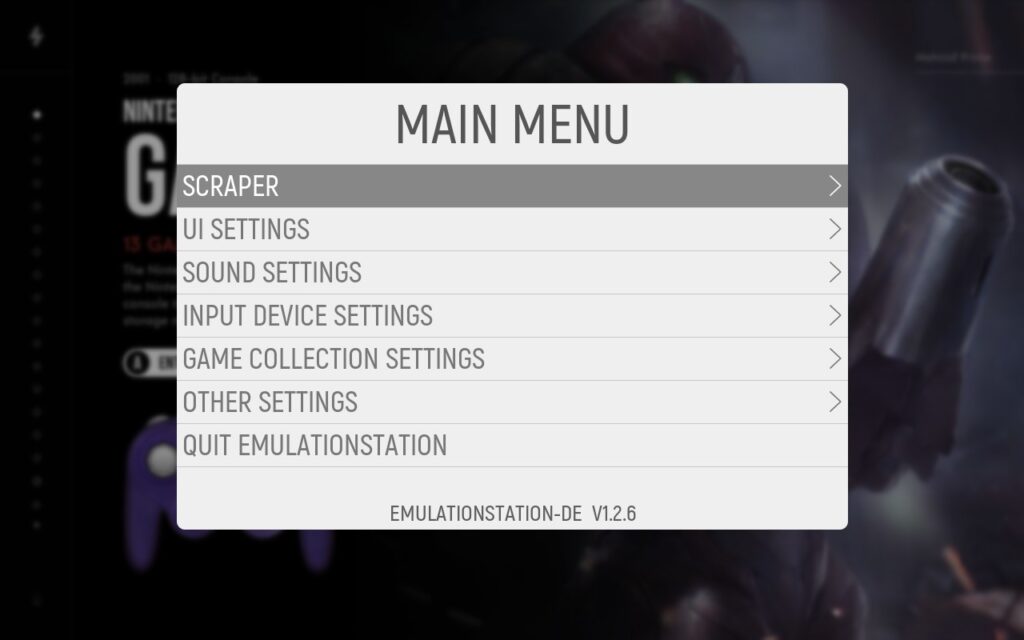
The main menu of ES-DE. Just tap the Start button to pull this up.
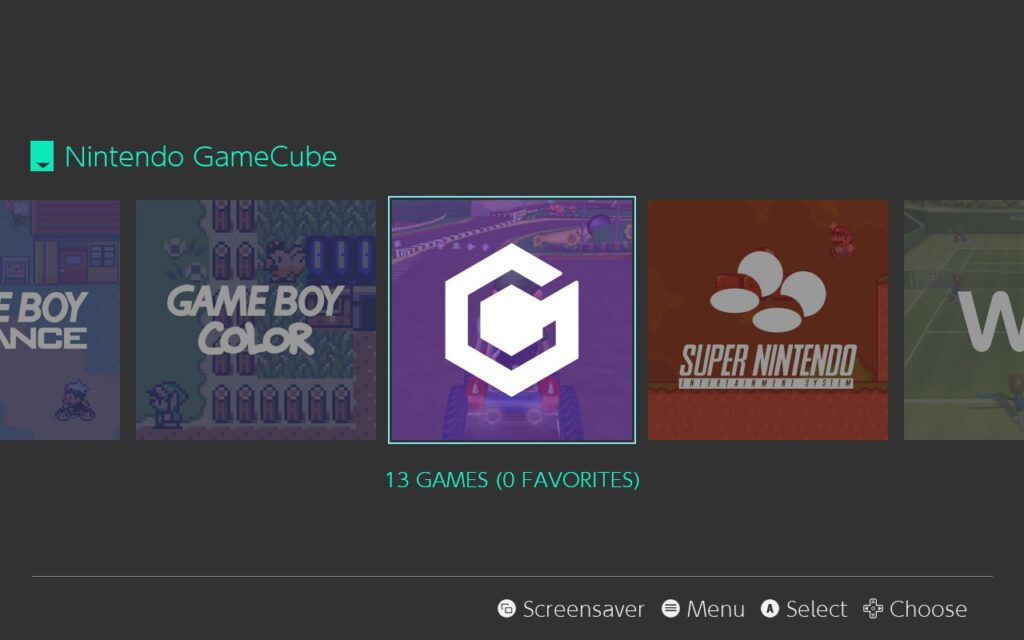
First, I would change the theme. I personally prefer darker colors and the ES-DE download comes with 3 to choose from:

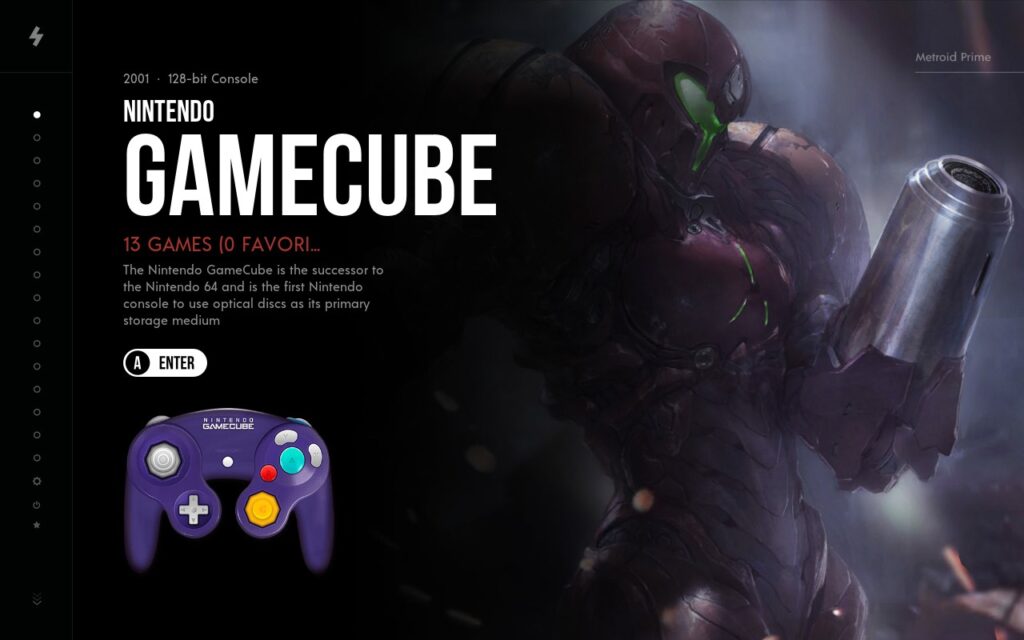
Next, I would use the "Scraper" to get each game's box art, descriptions, and more.
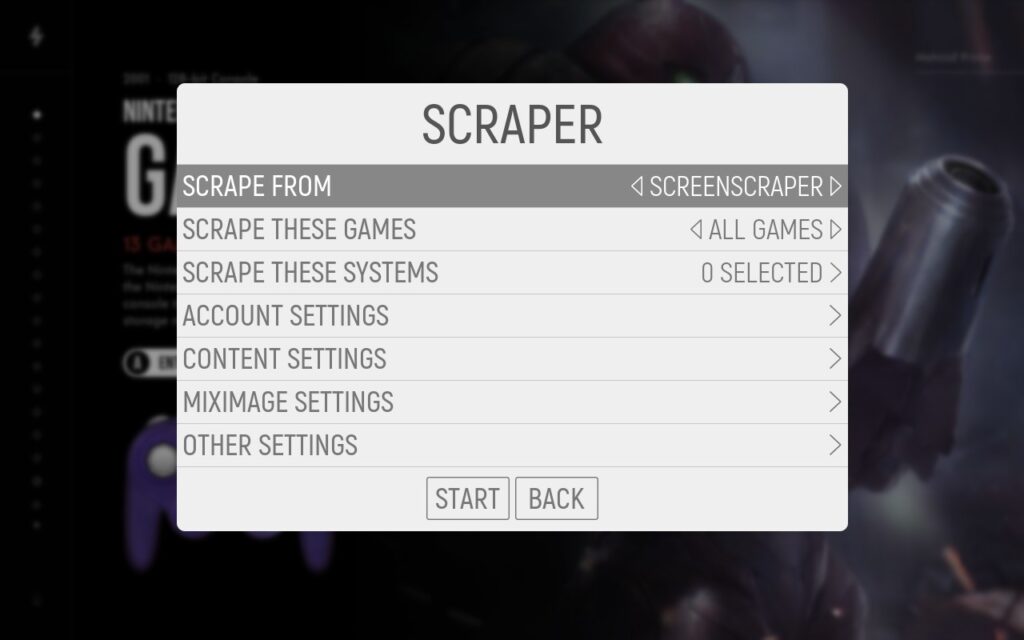
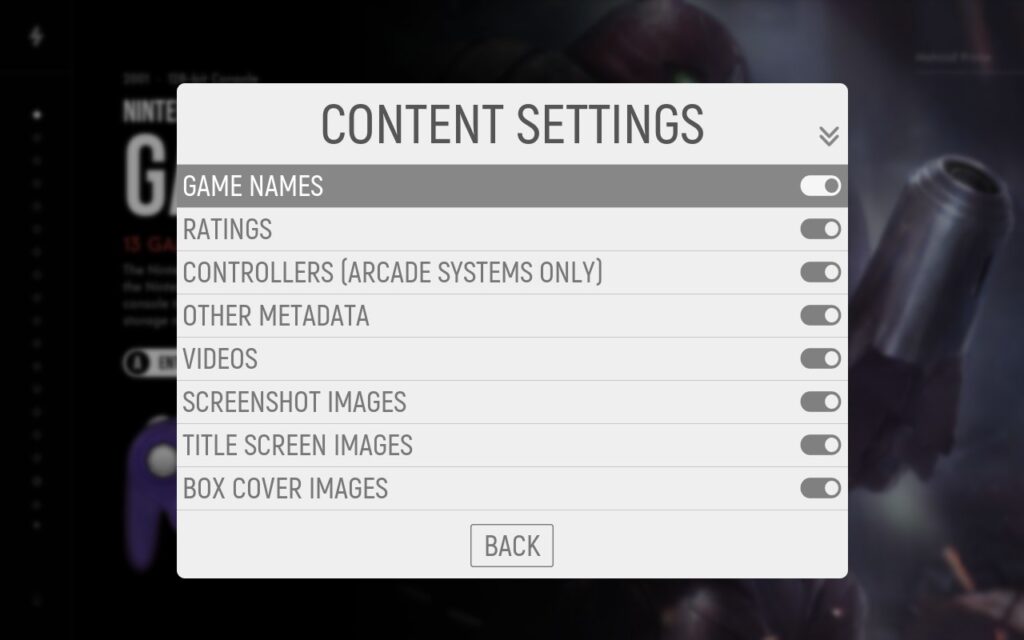
If this is your first time using this, you can just scrape all games and make sure that all the systems you want are selected underneath (there is a select all button). After that, go to content settings. This is really important as you will be able to select what content you want showing on each game. These can add up overtime and pollute your storage space, so be careful downloading all of these, especially videos.
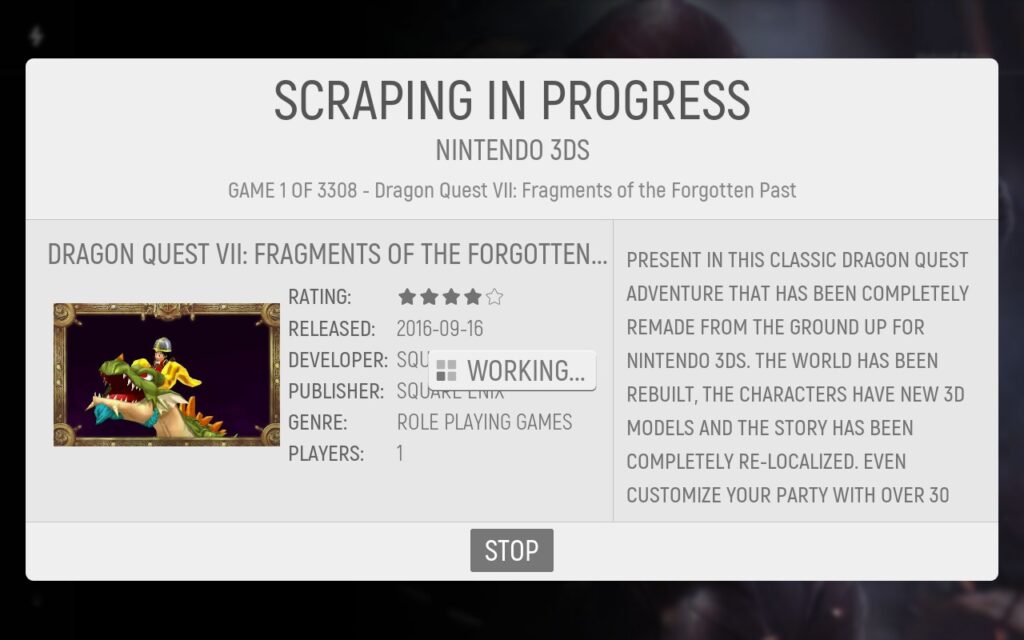
Once that is selected, and you choose which content you want, go back and hit start and it will start to go through the process!
Some of these may have different names or they aren't recognized in the system, but that is okay because you can manually search it too! If you go to a game, hit the options button (select button) and click on "Edit This Game's Metadata". Scroll all the way down and hit Scrape, then "Refine Search", and just type in the name of the game! This may have to be done with Wii U games more than others, but it is a good tool to have.
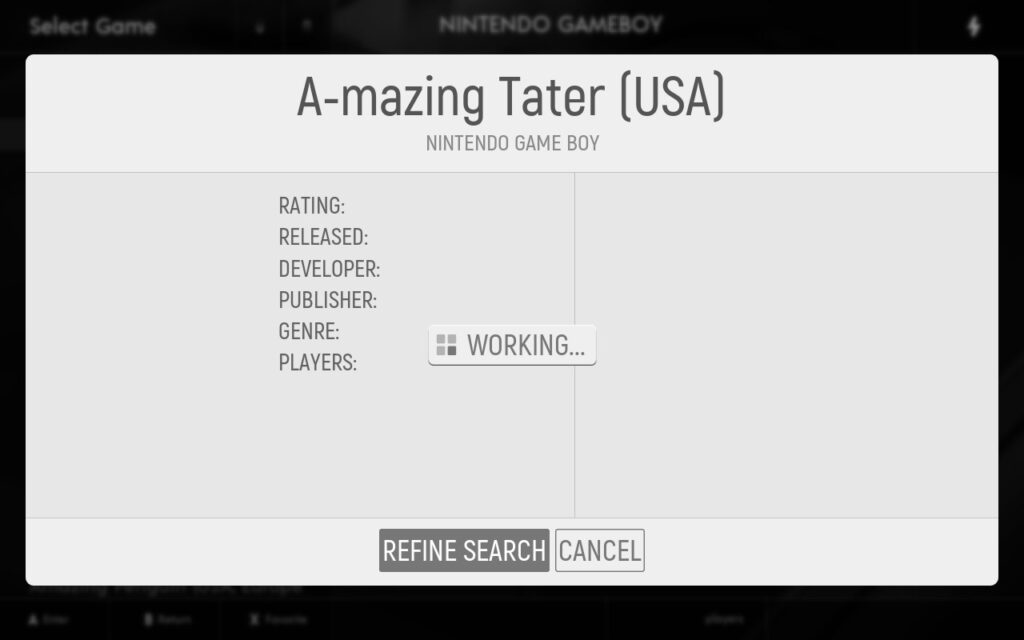
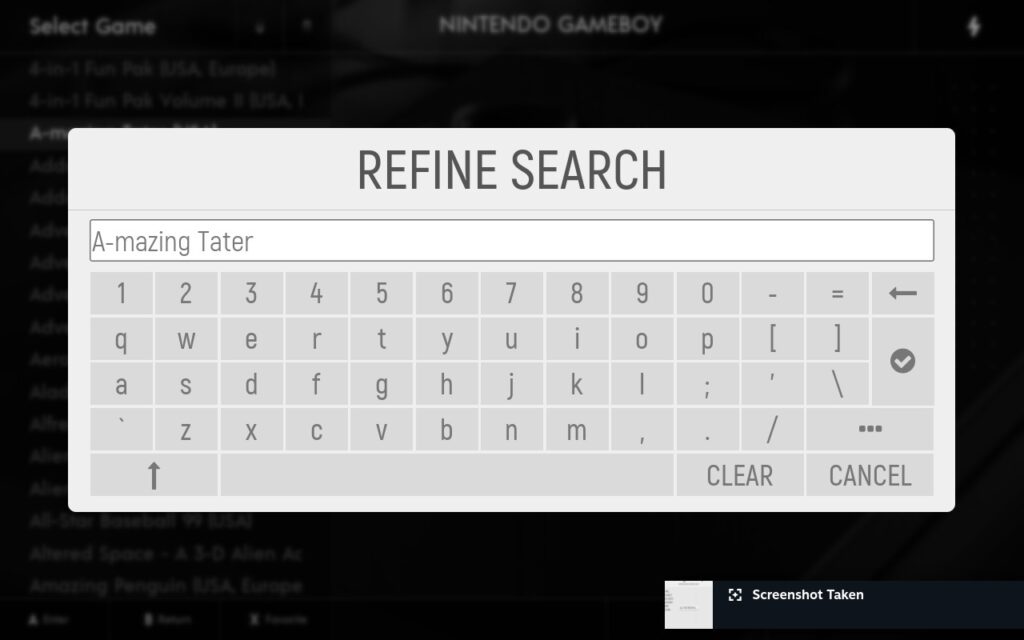
Finally, ES-DE allows you to select different emulators that can be used with different systems! This is great since some games actually run a lot better when using their standalone counterpart. To change this, go to your Main Menu > Other Settings > Alternate Emulators. From there, you can change which systems default to which emulators. The ones I would make sure to change are:
- gc = Dolphin (Standalone)
- n3ds = Citra (Standalone)
- ps2 = PCSX2 (Standalone)
- psp = PPSSPP (Standalone)
- wii = Dolphin (Standalone)
These seem to work better for these games, especially GameCube and Wii, but you can play around with them and see what works best for you!
Other than that, play around with it! You can do cool things like creating custom collections, change controller inputs, and more. Those are just some recommended ideas to make ES-DE as wonderful as possible.
Steam Rom Manager
For some people, having the individual games with their box art in the Steam library is significantly more appealing, which I totally understand. That is where Steam Rom Manager (SRM) comes in! Using this program, it will automatically import your games into Steam while getting the grid art automatically for you. It will even sort your ROMs into system categories to make it easier! We won't be going over SRM in-depth, just showing the basics of using it.
NOTE: This is best done with a keyboard and mouse.
So first thing to do is open up SRM from the desktop and once done, you will be greeted with the welcome screen.
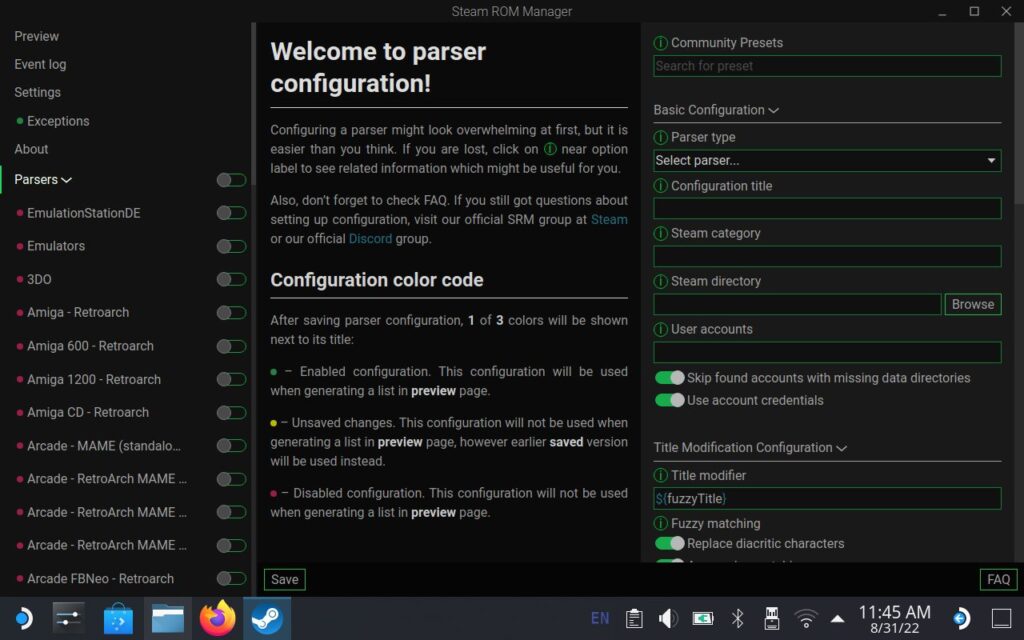
Next, scroll down and tick each of the consoles you want. For this demo, I will be checking the PS1 and Wii boxes. There may be multiples of a couple of them, so make sure to choose the one that offers the correct emulator! After that, scroll back up to the top and click preview, then at the bottom, click "Generate App List".
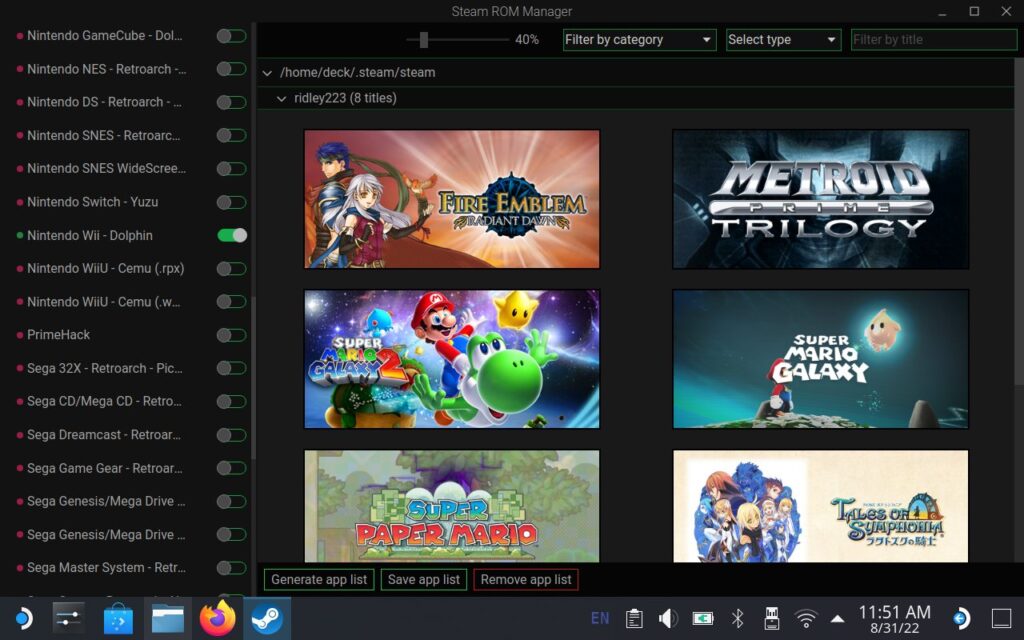
Once this is generated, it will automatically find the art needed for it and populate it in. By hovering over the game, if it has other options, you can click the arrow to skim through other art options. You can also change the art for the Poster, Hero, and Logo by clicking the drop down menu at the top where it says "Grids".
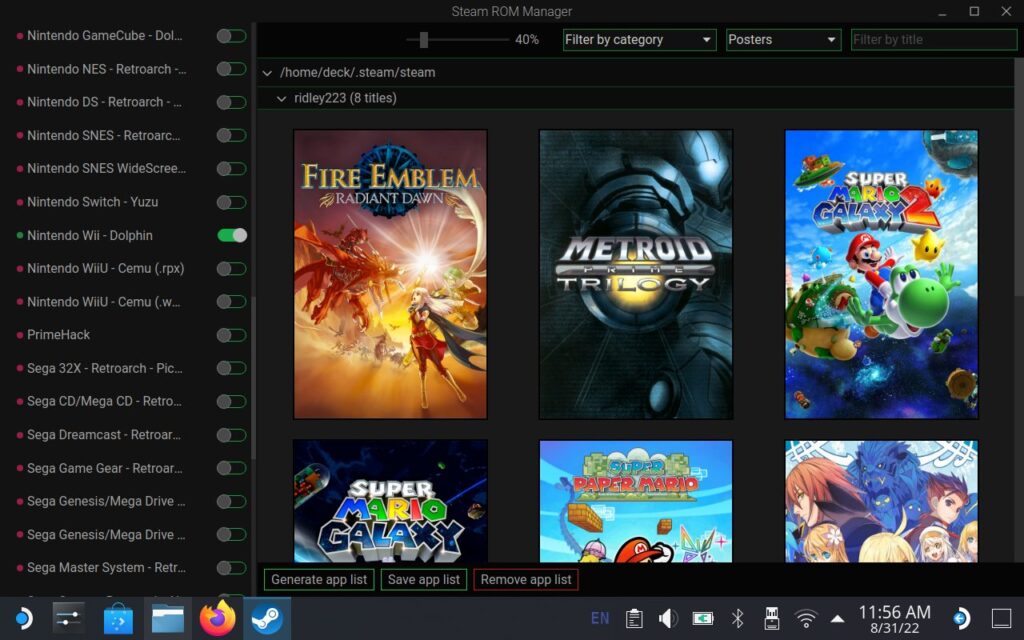
Once that is done, go ahead and click "Save App List". That's it! Now, if you go into Steam, you should see all of the games waiting there for you with the artwork you selected and in nice collections!
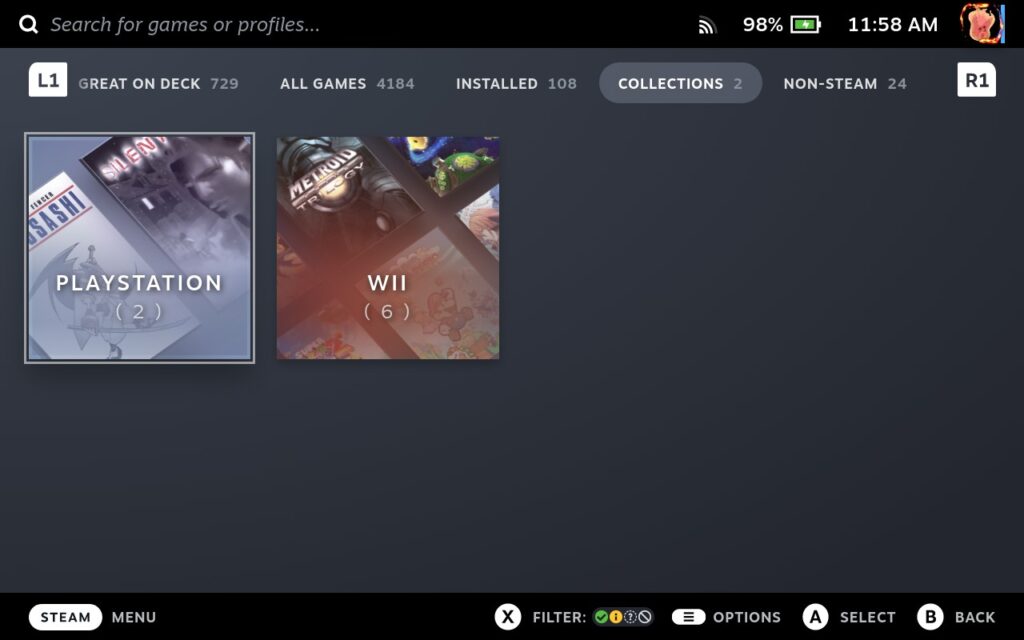
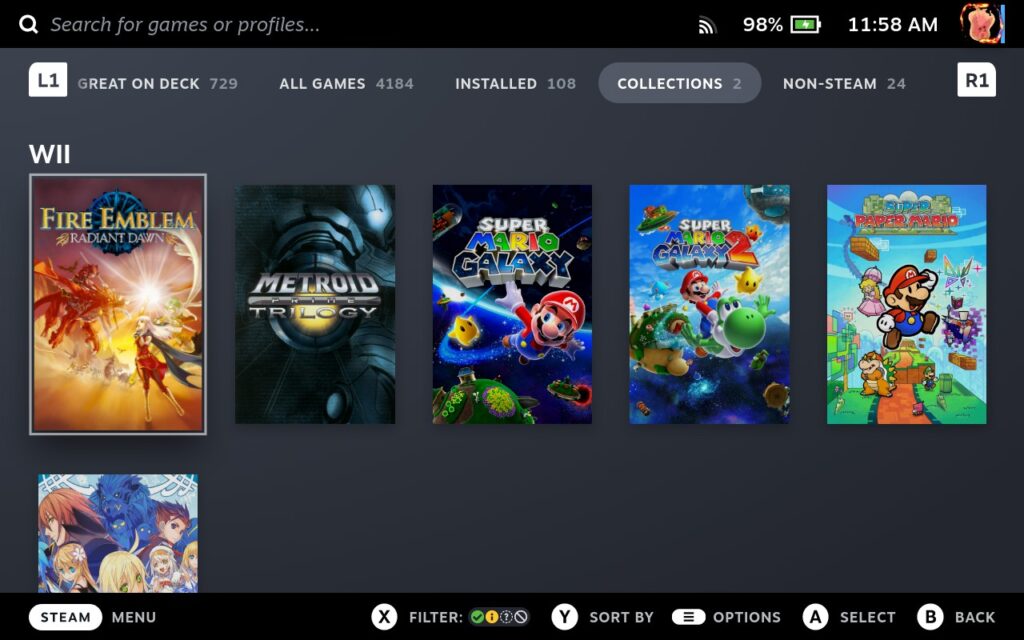
Removing them is quite easy as well. All you have to do is hit "Clear App List" and bam, you are back to square one on Steam! This does not delete your games at all, just removes the shortcuts from Steam.
And that's it! That is the basics of setting up emulation and the 2 different tools that you can use to do it. Check back soon as we will be uploading guides on using dual screens with Wii U games and compressing emulated games! If you want to know how to play 3DS or Wii U games on 2 different screens, we wrote guides! Thank you for reading!!



I don't know what I pressed or deleted but my ps2 just shows White screen that list three things: file browser
Configuration
About ule
Pls what can I do I don't understand
Amazing!now i can have my old school library games available. Great site guys, very helpful.
For the life of me I can’t get mega cd / Sega cd games to work
I can't seem to be able to disable parsers from the rom manager. If i disable Primehack for example, and generate the app list, it still is there (even after clearing). Help ?
Hey there! Great site and content. I'm having issues running Sega CD games. The picture and information (from the scraper tool) shows up when I scroll over the title, but when I go to play, the screen goes black and then back to the game list. I had no issues running them on the XSX with Retroarch but can't seem to get them on the Deck. I've tried bin/cue and cod files. Any ideas? Thanks!
Hi there! Have you been using EmulationStation-DE or Steam Rom Manager?
I've been using/trying Emulation Station.
Gotcha! Which emulator are you using with it? Trying to use the Retroarch core for it?
I got it! I tried it in Desktop mode using PicoDrive and it's working. I got it to work on Emulation Station. Not perfectly, but it's working. Thanks!
I am happy to hear that! I hope you're enjoying the game!
Hi
Thank you for this, much appreciated
Can I remove the desktop icons to the trash such as the compression icon?
I don't want my desktop so busy
Of course! Those are all shortcuts, so you can just right click and delete them!
Hi, love this website. I want to play Sonic Colors via Dolphin but it's set to the wii remote config within game, any idea how to change it to the Gamecube control style within Dolphin?
Thank you! While it isn't something we have personally tested yet, which would be a great thing to test, check out this wiki page for Dolphin which goes over controller configurations. You should be able to more in-depth control the configurations for emulated Gamecube and Wii controllers there:
https://wiki.dolphin-emu.org/index.php?title=Configuring_Controllers
Brilliant thanks, how would I access the menus for dolphin since I deleted the SteamOS shortcut, is there a shortcut to access it like Retroarch (click both sticks to access RA menu on Emudeck). FYI I'm not using EmulationStation.
If you look at your list of applications in Desktop mode, it should be there. Go to the bottom left of your screen and make sure you are looking at the "Games" tab. There you should see Dolphin, if you are using the standalone version (which I would highly recommend)!
Worked a charm. Another one for you, for GBA it works brilliant, but I feel the size of the game is a bit too big, how would I change the size of it, I checked all over RA menus but can't see where to do it, maybe do something similar to the Gameboy player on Gamecube with a border or don't mind just a smaller window, as long as it's not the full size of the Steam Deck screen
I’ve been having a very hard time trying to find out how to add the PlayStation 2 ROMs to Emudeck. I was able to get the games to run separately through the PCX2 standalone emulator by launching that and then watching the Rams within the emulator but I can’t seem to set it up so that the PS two wrongs show up in a collection or on EMU deck. I got it to work perfectly fine with GBA, DS, SNES, PSP no problem but PS2 games for whatever reason won’t work if you can please help. Or put out a guide on how to specifically to get that to work. Thank you
More than likely, the reason PCSX2 won't run the games is due to not having the BIOS files for them. Unfortunately, this is something we can't provide as they are proprietary to Sony.
check out archive.org, they tend to have all of the bios, just search for it (I can't link directly)
him having the same issue as Zachary
i have the ps2 bios in a folder i named pcx2 i had to make a pcx2 folder myself there wasn't one in there when installed emudeck please help
Hello. So you are able to run the games using the standalone PCSX2 but can't get them working through EmuDeck?
Don't do it people!!
This garbage messed up my steam deck, it went from running absolutely perfect to running like a glitchy mess after installing emu-deck!
I re-imagedy deck and it stall ran like shiz,
I literally had to RMA my steam deck!
Stop trying to push this trash on people bro!
You've been warned!
Hi there! I would love to help you out and investigate what happened. This is the first I have heard of something happening like this from EmuDeck. May I ask what happened exactly?
Hi, I just wanted to thank you for this great website. I love the looks and the content you keep on adding regularly! Also great addition is your battery settings for each game reviewed. I'm the guy who aims for the best battery life. Keep up the good work 🙂
Thank you so much! We are so glad you enjoy the website. We hope to keep the content coming as we continue to cover the news, make more guides, and review more games! Your support makes it all possible, so again, thank you!!
Yeah, it's great, tutorials are so detailed and I had no problem making it work. 👍