The community fork of Proton, Proton GE, has been a saving grace for multiple games I have been playing. It has helped significantly with cutscenes that wouldn't run due to codec issues and has improved performance in others, but updating it isn't always the most convenient. Generally, you would have to go into Desktop mode, open the ProtonUp-QT program, navigate to the newest layer, and click download. Then, once done, you would have to get back into Steam. But what if there was a way to do all of this without needing to leave game mode? That's where Wine Cellar comes in.
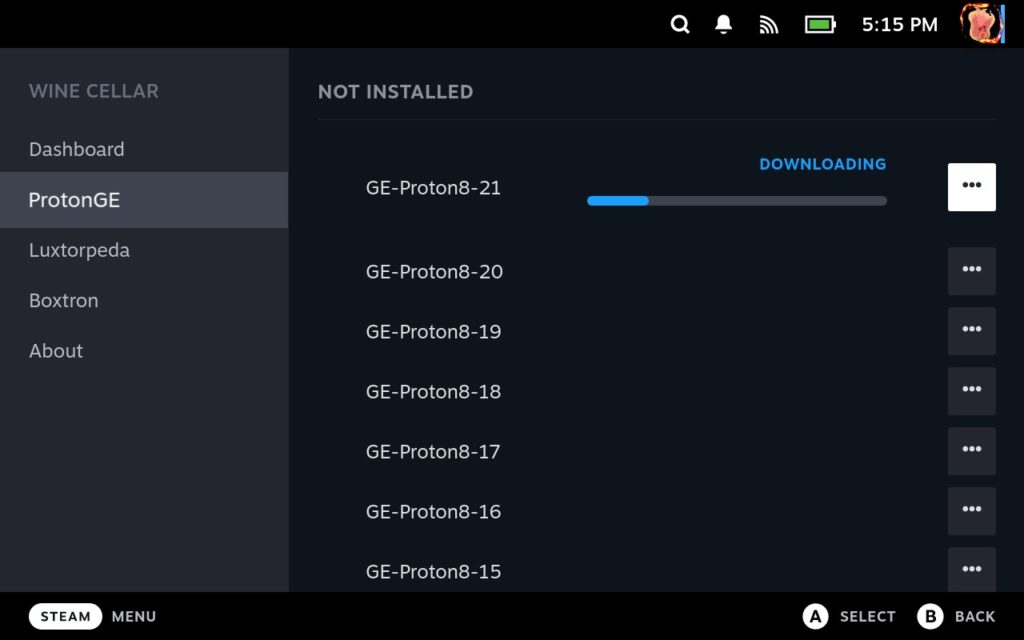
Created by FlashyReese, and initially seen in Hi-Tech-Lo-Life's video, Wine Cellar is a Decky Loader plugin that allows you to install the newest versions of Proton GE, Luxtorpedia, and Boxtron compatibility layers all from the comfort of Steam Deck's game mode. This is a big deal for me, especially since I am constantly going back and forth to test out the new and older versions of these layers. So now, with this plugin, I can do all of this easily and conveniently without much issue.
Installing Wine Cellar
Getting and using the plugin is easy. First, you just need to find it in the Decky Loader store. If you don't have Decky Loader, you can follow our guide on how to get the plugin framework. Once you do, go into the store and scroll down until you find Wine Cellar. After that, hit install, and you should be all set!
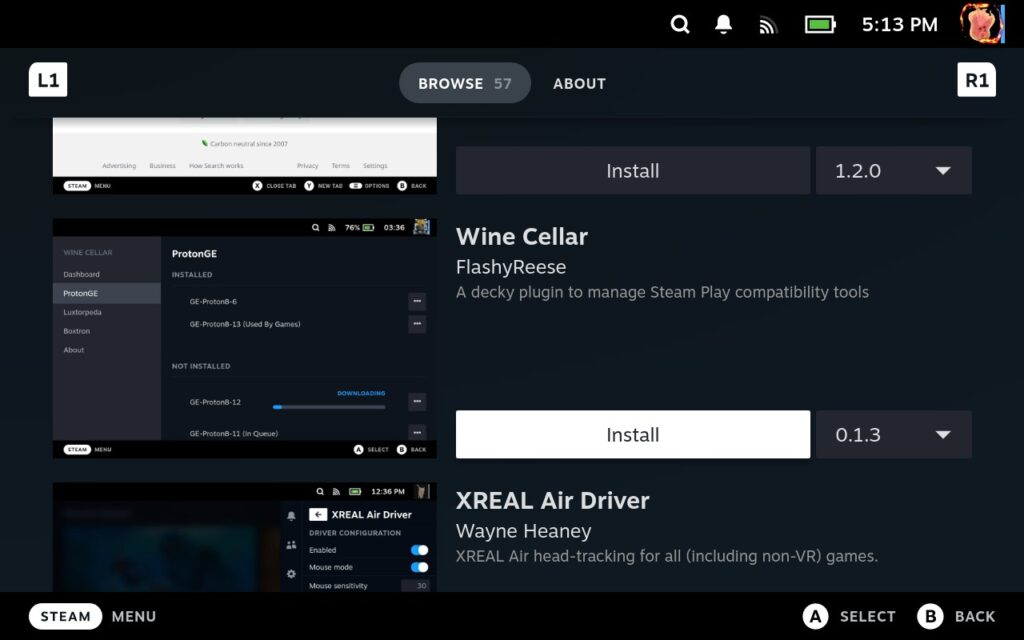
How to Install New Proton GE Layers
Now that the plugin is installed, we can start using it! Go to the Decky Loader tab on the Quick Access menu and find the Wine Cellar plugin. Once you are looking at it, just go ahead and press "Manage" to get taken to a new screen:
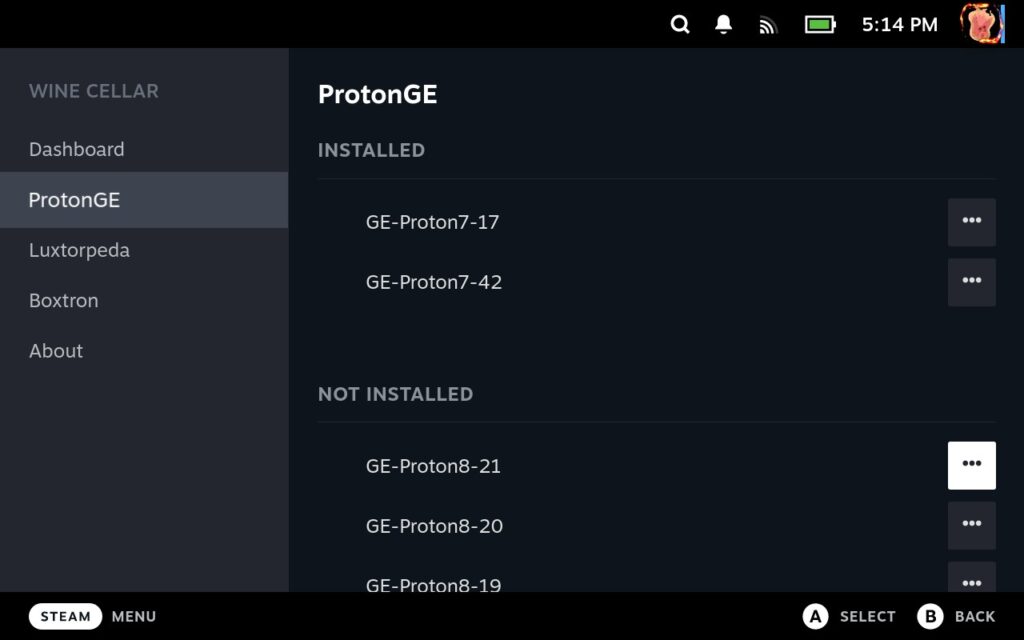
Now, you can go through the menus and choose which layers you want to install. Since I primarily use Proton GE, I will focus on that. At the top and at the Dashboard, you will see which layers you have installed and can uninstall old ones easily. To download new versions, scroll down (I am choosing the newest version at the top, and click on the ellipsis to get the option to download the layer.
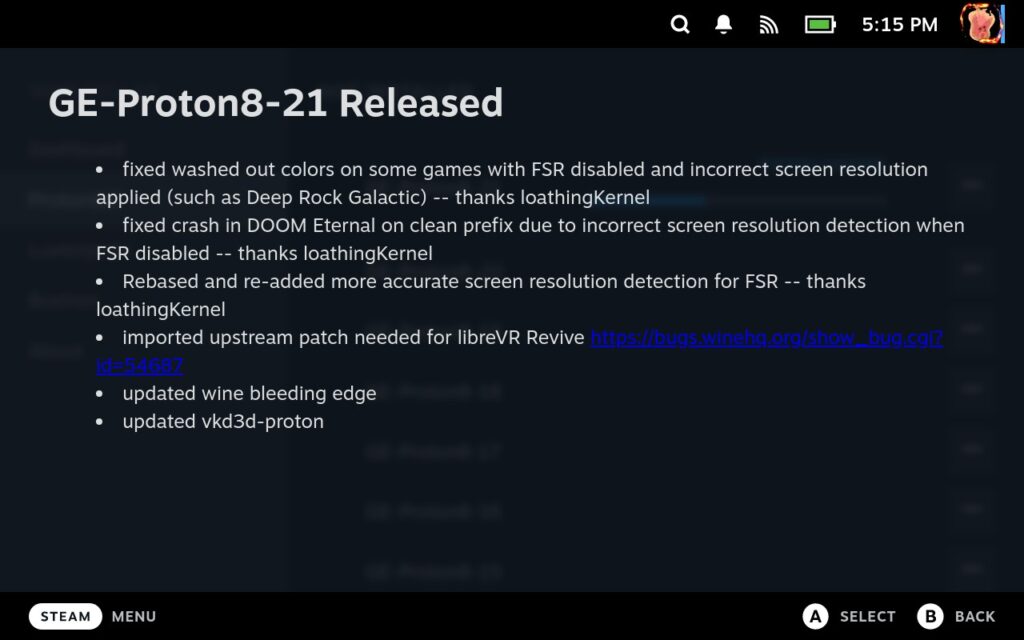
You will also have the option to view the changelog for each layer and see what has changed in the version you choose.
After that, it will appear in the section above with the installed layers, but you will need to restart Steam for them to appear. You can restart by clicking on the ellipsis next to the layer and clicking on "Restart Steam."
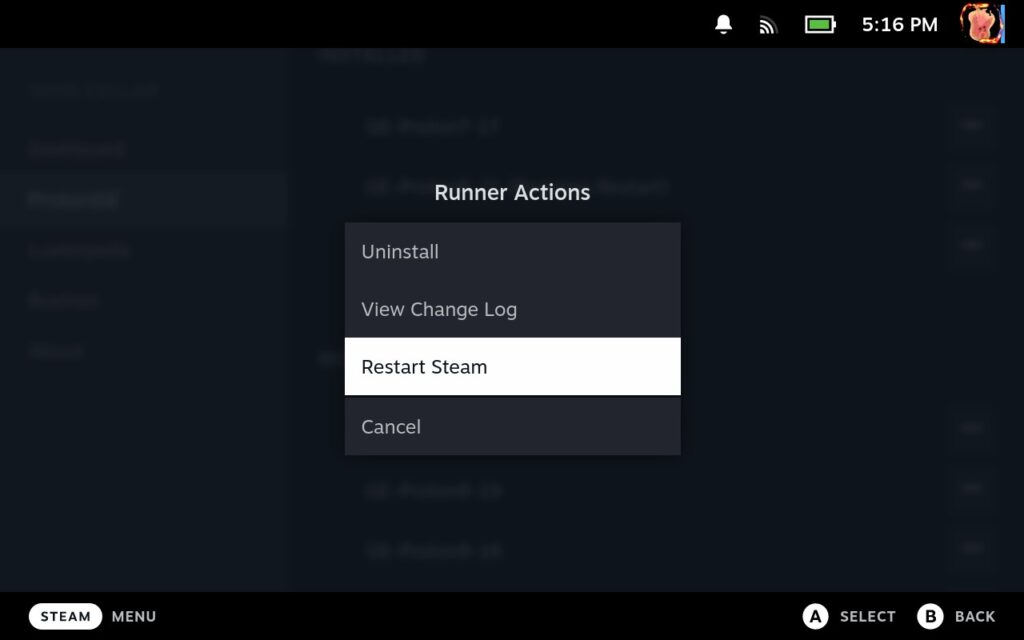
Once you restart, the layer will appear when you go to compatibility options in each game!
And now you are done! You can now easily install the new layers from Game Mode instead of needing to go to Desktop Mode. This will make updating and uninstalling the layers much more convenient and easy.
If you enjoyed this guide, check out the rest of the content on SteamDeckHQ! We have a wide variety of game reviews and news that are sure to help your gaming experience. Whether you're looking for news, tips and tutorials, game settings and reviews, or just want to stay up-to-date on the latest trends, we've got your back.





Really hope to see this plugin add Wine-GE / Lutris-GE, removing any need for ProtonUp-Qt in Desktop mode again.