Hey everyone! Today, we’re going over how to mod one of the coziest games of all time, Stardew Valley.
So, first thing’s first, Modding Stardew can go from giving it a new coat of paint, all the way to tripling the size of the game, and it’s incredibly easy. While it’s easy, this process might not be the simplest way to mod Stardew Valley, but it’s by far the most consistent.
Mod managers, especially for Stardew, overwrite incorrect files and delete configurations all the time. Using the method I describe here will be a little more tedious, but I’ve been using the same process for over 6 years of Stardew modding with no issues, so I highly recommend it!
With that out of the way, let’s get started!
Modding Stardew Valley
1. Make sure Stardew is installed
The first step in the process is incredibly easy, make sure that you’ve installed Stardew and run it at least once to generate the appropriate files, then go to Desktop mode.
2. Get SMAPI
Next we have to install the Stardew Valley Modding API, or SMAPI for short. Click this link to visit the SMAPI site and download the installer.
Now, unzip the downloaded Archive wherever you want, I just put it in a folder in Downloads.
3. Install SMAPI
Go into the extracted folder and right click the “Install on Linux.sh” file, then press run in konsole.
Press 2, enter, 1, enter, 1 and enter.
This will install SMAPI to the game directory, which will let the game load mods! At this point, you can start the game the same as always and it’ll load up just like default, but that’s no fun so let’s actually get some mods.
4. Get Mods
To get mods, I highly recommend using either Nexus mods or Moddrop. I personally use nexus since I prefer the interface. As a note, Nexus does require a user account, so you’ll need to sign up for one if you don’t have an account already.
For this demonstration, I’ll show you one of the largest, most comprehensive, and in my opinion best mod for Stardew, Stardew Valley Expanded, or SVE.
The content from SVE integrates so well into the base game that I actually can’t play without it anymore and it’s just the regular game dialed up to 11. To install it, just go to the Nexus page. Most mods have an installation instructions section here, so make sure to read it, but I’ll explain SVE’s install process right here.
Go to the Files tab and click manual download on the top file. You’ll see a window pop up, including mod requirements. Mod requirements are mods that this mod needs, in most cases these are frameworks that maximize compatibility between mods.
Open all of the pages for mod requirements in new tabs, I use control and left click here to do it quickly, then press the download button at the top of the page. While we’re here, also make sure to get the file called “Grandpa’s farm”, which makes the default farm much more immersive and even includes quests and methods to expand your farm!
Next, go to each tab that you opened before and download the latest version of all the requirement mods.
Once you’ve downloaded all of them, it’s time to install!
5. Install Mods
Installing the mods isn’t very difficult at all, simply extract all of the files you just downloaded.
The simplest way to do this is to highlight all the files, right click, go to extract and then press “Extract archive here, autodetect subfolder”.
Now, open the installation directory by going to Steam, right clicking Stardew Valley in your library, and “Browse local files”. Copy the folders that you extracted into the new Mods folder in the installation directory.
After all the folders are there, you’ve officially installed the mods!
6. Test that it works
The next step is to test that the mods load and generate configurations, which is done in a single step. Just boot the game! Stardew will start with a new text-based window that shows the boot log.
Keep an eye out for Red text, if you see any then it means that you have an error. It could be from any mod you’ve installed, so you’ll need to read the error message and find out what it is. If you do come across this situation then you should go to the appropriate mod page and look at any troubleshooting, or if there are known incompatibilities between the mods you installed.
Yellow text is fine and can typically be ignored unless you’re developing your own mod.
Purple or pink text means that you have mods that aren’t the latest version.
Black text is just information and you don’t need to worry about that at all.
Depending on how many mods you’ve installed the game will boot in somewhere between seconds and minutes. When I modded my game with over 400 mods, it took about 9 minutes to load up, but this was back in 2019 before the frameworks were this mature.
However long it takes to boot, you should see the familiar ConcernedApe logo come up and then you’ll be on the main menu!
7. Configure Mods (if needed)
The next step is configuring mods to your liking, there are 2 methods to do this.
First is a newer method using another mod called Generic Mod Configuration Menu. By installing it, you’ll get a small gear icon in the bottom left of the main menu where you can configure each mod to your liking. The major downside to this is that not all mods support it, so you’ll need to resort to this next method in those cases.
The old, but rock-solid method is to go to your Mods folder, go into the folder for the mod you want to configure and find a config.json file. Open the file up, and you’ll be able to change any config a mod may have here, but you’ll likely need to go to the Mod’s Nexus page to see what each configuration option does.
Regardless, after you’re done editing the file, save it and move on to the next one, when all of the configs are updated, you’re good to boot the game back up!
8. Updating a mod
Updating mods is super simple as well.
First, download the new version of the mod.
Next, drag or copy the config.json file from the old version’s folder to the new one and delete the old version’s folder afterwards.
Last, drag the new folder into the Mods directory.
You MAY need to change the config after updating, depending on what the update does, you’ll need to read the mod page or changelog to see if that’s the case though.
Notes
Before we finish up, I want to go over a few things:
- If you have an issue with a mod, please look at the mod page or go to the mod developer, I can only help with general modding advice.
- I recommend creating a new save file if you’re going to use mods that add new content, it’ll save you a lot of hassle.
- Modded save files WILL sync with Steam Cloud
- Some mods can conflict with others, you’ll need to make sure each mod doesn’t have a listed incompatibility with another you’d like to use.
- Try not to change mods in the middle of a save file unless you’re trying to solve a particular issue.
- Especially if they use a mod called JSON Assets, since it can cause your items, even in chests, to swap out for other items.
- Some mods don’t play well with multiplayer, but most work perfectly as long as both people have the exact same mods and configuration options set.
My Personal Modpack
I’m definitely not distributing the pack itself because that would be a jerk move to the developers, but I’ve listed the mods I’m using on my webpage.

Some highlights for the mods I’m using are:
- A much more lively Pelican Town
- An entire extra town, with all new residents
- More than 3x the number of people to meet and befriend, with a large amount being romanceable
- New festivals
- Entirely new mechanics
- Many, many more things to do on your farm
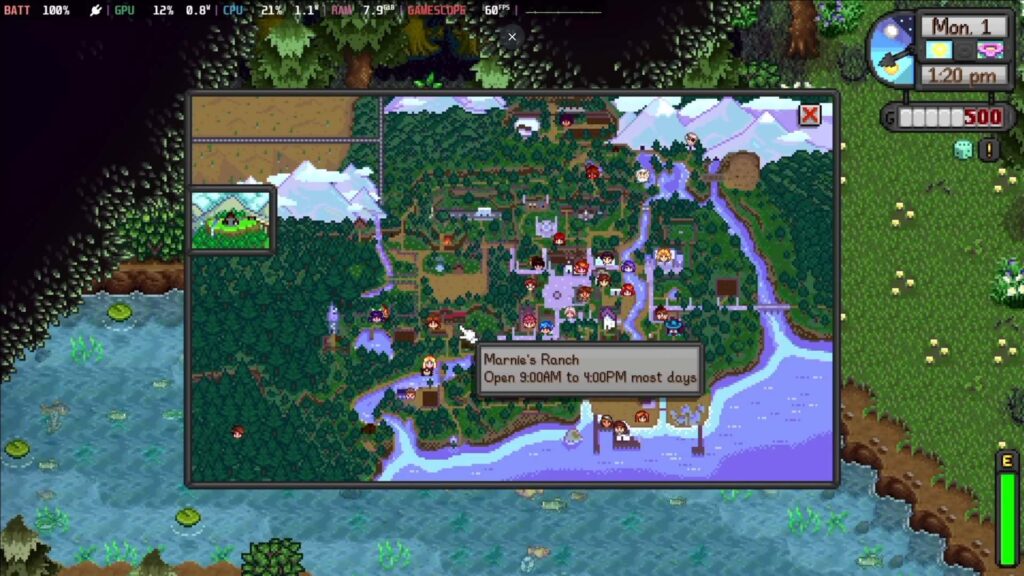
- A map that tracks NPC locations, including optional minimap
- Fully multiplayer compatible
- Zones with much harder combat than the base game
Conclusion
Well, that’s all there is to modding Stardew Valley!
I hope that this video was useful to you, and I truly believe that modding Stardew is the best way to play. So much so that ConcernedApe is adding official modding support in 1.6.
Thank you to all of my patrons, youtube members and superchat donors for your support, hopefully it will allow me to get some extra videos out this month!
If you’re still here and want to watch another game being modded, then I recommend checking out my Breath of the Wild on Cemu modding video. Thank you and have a great day!
If you enjoyed this article, be sure to check out the rest of the content on SteamDeckHQ! We have a wide variety game reviews and news that are sure to help your gaming experience. Whether you're looking for news, tips and tutorials, game settings and reviews, or just want to stay up-to-date on the latest trends, we've got your back!


When I right click on the install on Linux, I don’t get the option to run on console, is it called something different now?
Just a heads up, the link to the personal mod pack doesn't work.
Thanks for the heads up. Seems like there's a certificate error on Cryobyte's website, we'll look into it. 🙂
Hey, just a heads up, your direct link to the SMAPI download is to an outdated version! 🙂
Thanks for the notice Conor, I've updated the article to link to the SMAPI site, as they always have the link to the latest version on their front page, should mean it's always up to date.
Is there a modpack where I can download all your recommended mods?
Once you do this can you still play modded stardew outside of desktop mode or do you have to always be in desktop mode to access the mods?
It still works perfectly in game mode, just launch it using the normal icon and the mods will load up too!