Gaming on PC has always been a unique and wonderful experience. We have access to a monumental amount of games that usually don't disappear. Being on a computer, we also have the freedom to choose multiple different storefronts. This gives us the option to find one that works for us and has the features we find useful. While Steam is the most prevalent, especially on the Steam Deck, other stores do have their own deals and sometimes give free games.
Getting these other launchers, like the Epic Games Store, Ubisoft Connect, GOG, The EA App, and others are not as straightforward, but with this new tool, it gets a lot easier! Created by moraroy, NonSteamLaunchers is a small program will find and download and install all the launchers you want into a single prefix folder. Some consistent updates have also added in downloading/installing the latest Proton GE (it will detect if you already have it too), SD card migration support, auto-updating the application itself, and easy uninstalling.
This makes the process so much easier, but it still needs some guidance, especially when you get to using the launchers in game mode! So let's dive in and get some non-Steam launchers on the Steam Deck!
Downloading and Running NonSteamLaunchers
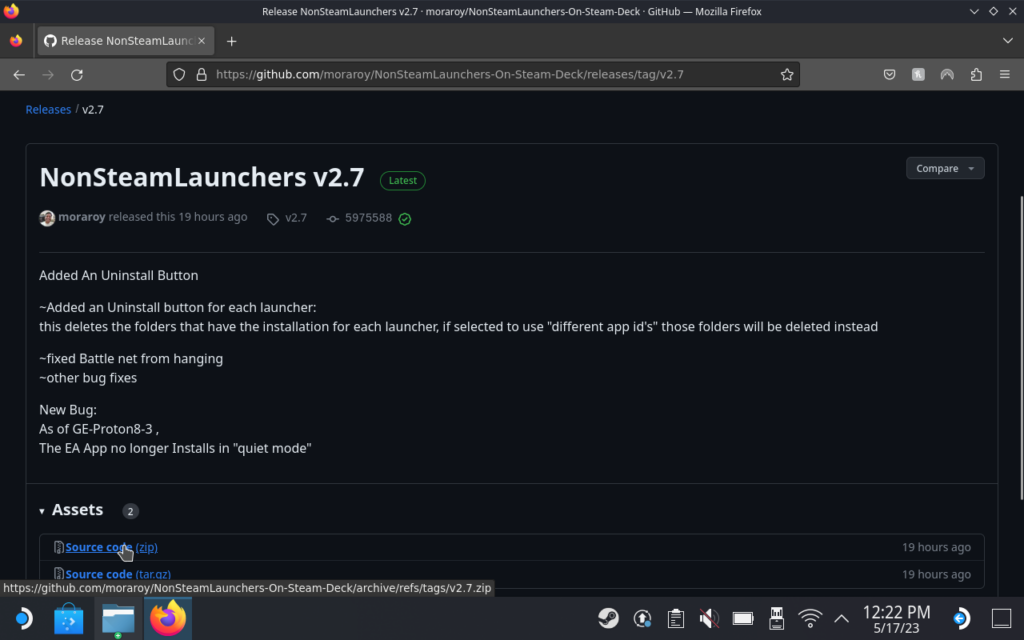
Step 1: Head to the Github Releases page for NonSteamLaunchers and download the latest version of it. To do this, go to the top NonSteamLaunchers option (which as of writing is v2.7) and download the "Source code (zip)".
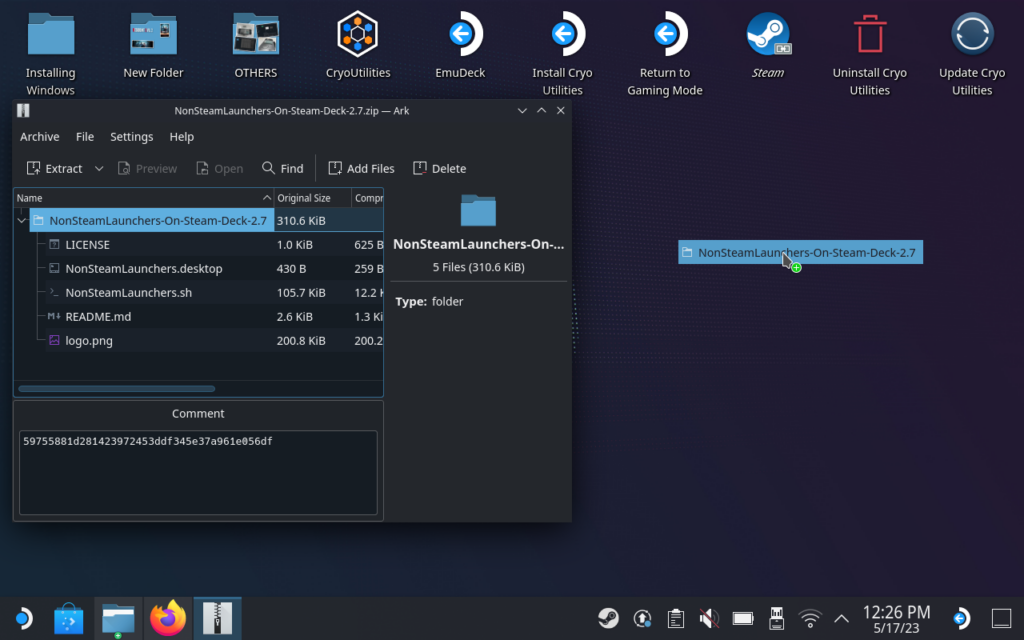
Step 2: Extract the folder inside to your desktop (or whatever location you prefer). It doesn't matter as the everything will be installing somewhere else entirely.
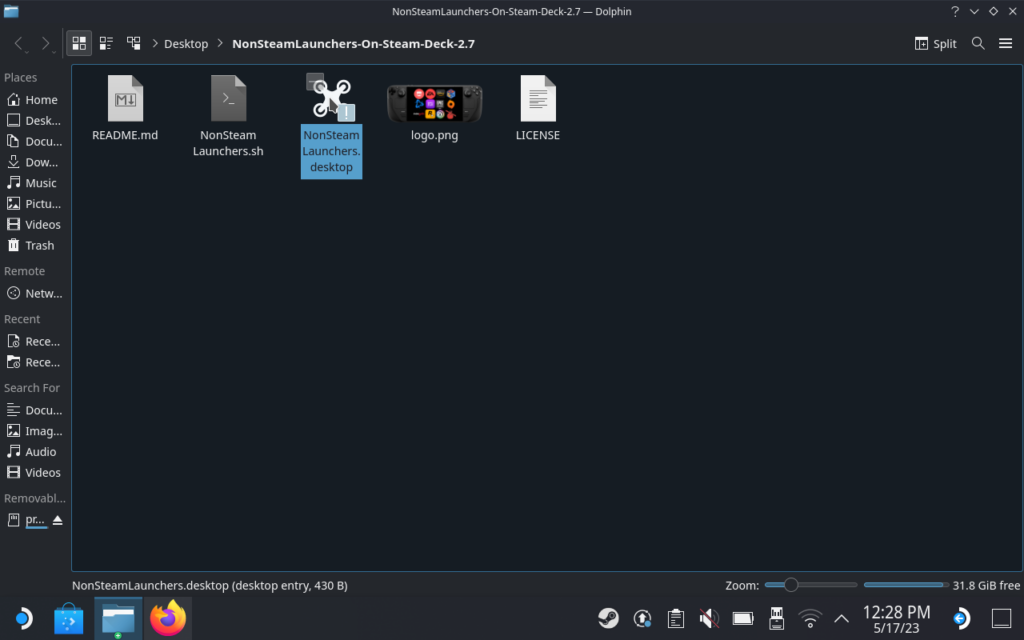
Step 3: Double click and run the NonSteamLaunchers.desktop file. Make sure to hit "continue" when it asks if you are sure.
Step 4: Choose whichever launchers you want to install! Once done, just hit "Okay" and let NonSteamLaunchers do its work! The program will automatically detect and install the latest Proton GE, then use the compatibility layer to automatically install the selected stores to the prefix folder!
The shared prefix folder they install to is:
/home/deck/.local/share/Steam/steamapps/compatdata/NonSteamLaunchers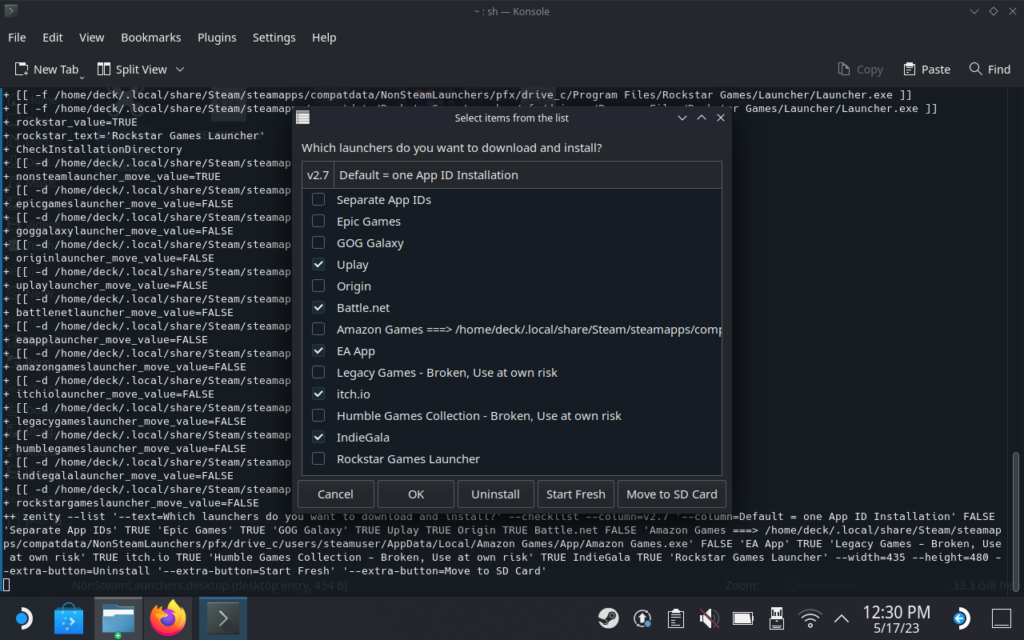
Step 4.5: If you want to move the launchers to the SD card or uninstall specific ones, you will run the .desktop file again and choose the option. You can also choose to have each launcher have its own prefix folder if you'd rather keep them separated for organization purposes.
Step 5: After going through the install processes, the program will restart Steam so the shortcuts will appear there. The program did this for me while in Desktop mode and put me in big picture instead, so I had to exit big picture and manually go back to Game Mode, but the shortcuts should appear.
And with that, we are done running and installing the storefronts! You can always run the NonSteamLaunchers program again to install launchers that you didn't before. With that done, we now have to configure a couple things in Steam to effectively use the launchers without issue.
Configuring Launcher Shortcuts in Game Mode
Now that everything is installed and shortcuts have been created, there are a few things left to do to BEFORE launching ensure the launchers are running alright:
Forcing Proton Compatibility
While this is a feature moraroy is working on, the launchers I installed were not forcing Proton compatibility, which meant trying to launch them wouldn't work. To fix this, just go into the properties for each game and go to the "Compatibility" tab. Select the newest Proton GE (8-3 as of writing) to force it and now it should launch!
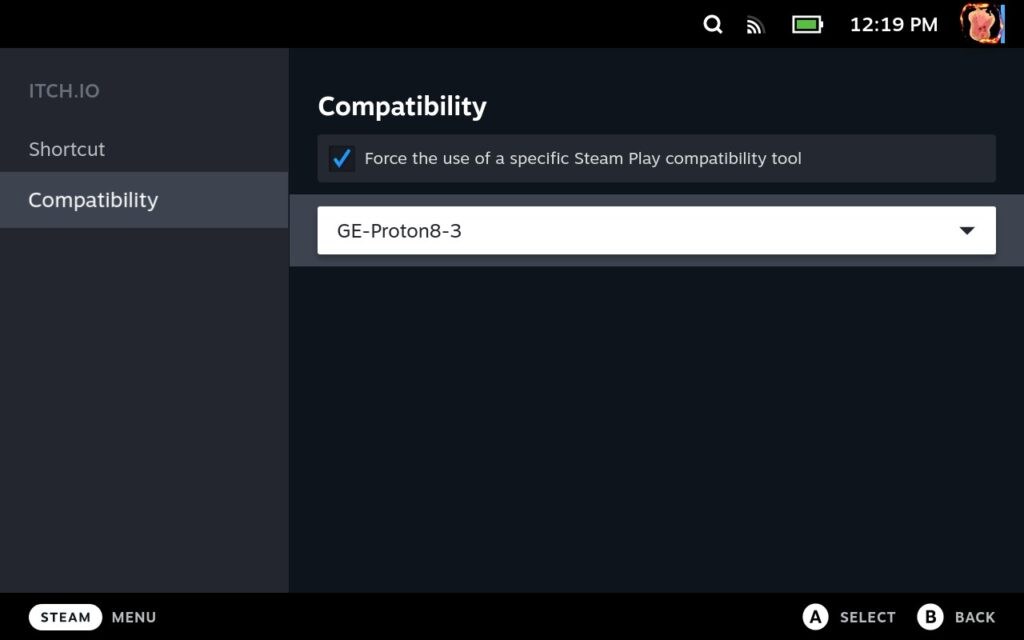
I did try to launch without forcing compatibility before and, for whatever reason, it wouldn't let me force it after trying to run it once without. So this would be the first thing I do.
Modifying the Controller Layout
For my launchers, Steam defaulted to a Gamepad with Joystick Trackpad layout. When you are in games, this works wonderfully, but navigating the launchers themselves is much harder/near impossible. To fix this, I would recommend changing the functionality of the trackpads.
I made both the right and left trackpads act as a mouse so we can easily utilize the cursor to navigate. Then, I made clicking the right trackpad act as a "Left Mouse Click" while clicking the left trackpad acted as a "Right Mouse Click". This brought in the necessary functions for using a mouse to go through the launchers and use them effectively.
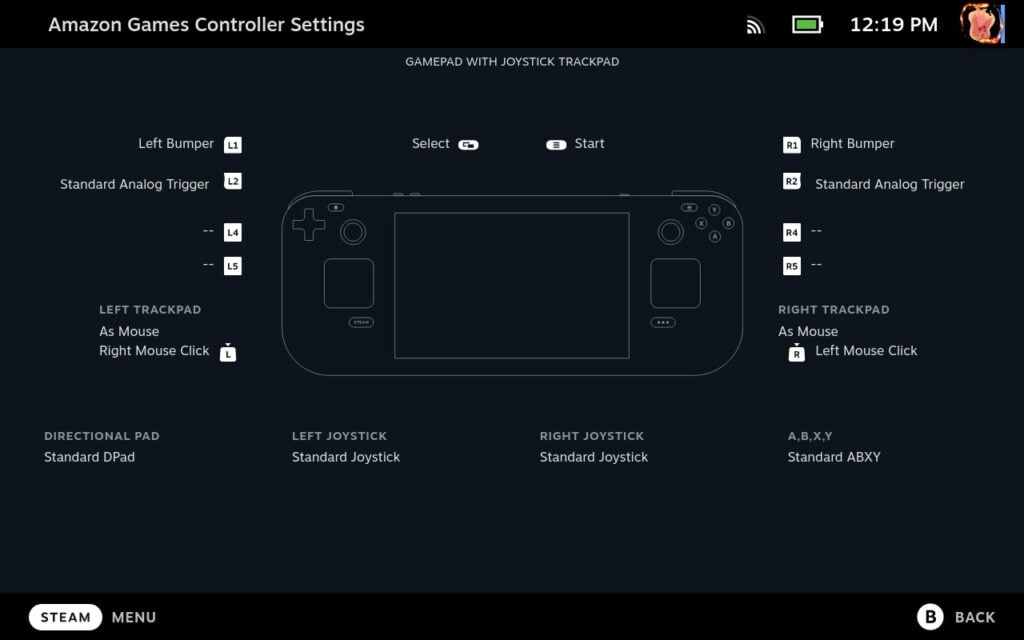
There are some launchers, like the Amazon Games launcher, that need the right mouse click to uninstall games that are downloaded (I couldn't find a settings button for them).
OPTIONAL: Getting Artwork for the Launchers
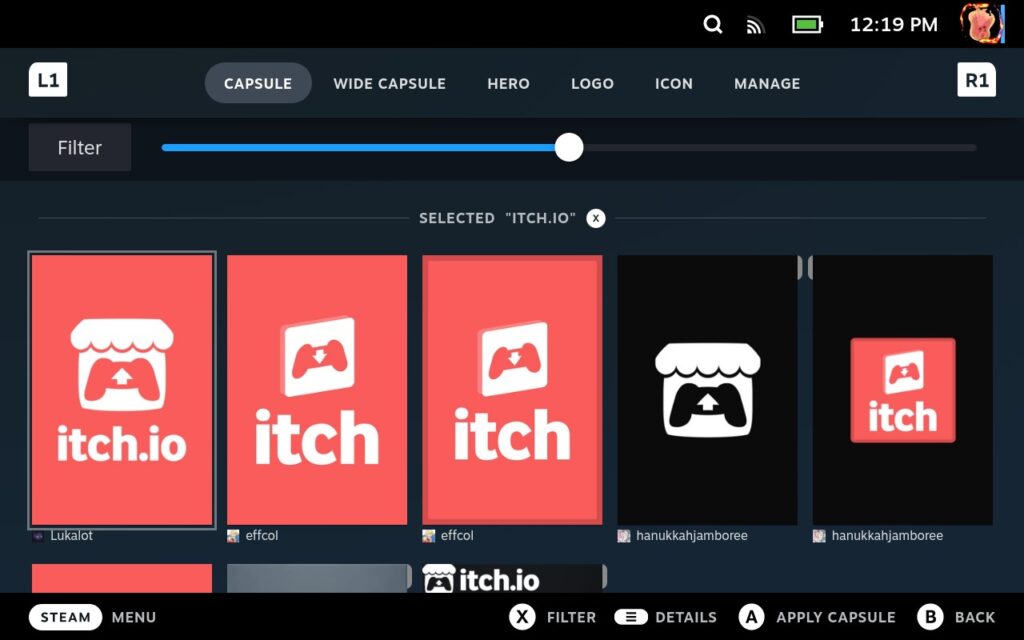
Moraroy did mention that they are working on adding in automatic artwork adding into the program, but as of right now, it isn't in yet. This is more of an aesthetic feature over a functional one, but I highly recommend getting artwork as it looks really nice.
If you have the SteamGridDB Decky plugin, it should be able to find the artwork automatically as the shortcuts are named. If you have Decky already, you can find out how to use the plugin here. Our Decky Loader guide will be out soon and include some recommended plugins and how to use them, on top of installing!
And that's all for this guide! After setting those up, you should be able to start using the launchers. You may have to use the virtual keyboard to log into your accounts, but once done, you should be all good to use the trackpads and gamepad to navigate and play games!
If you enjoyed this guide, be sure to check out the rest of the content on SteamDeckHQ! We have a wide variety game reviews and news that are sure to help your gaming experience. Whether you're looking for news, tips and tutorials, game settings and reviews, or just want to stay up-to-date on the latest trends, we've got your back




Is it possible to get the ironmace launcher using this method
I don't believe the app supports Blacksmith right now.
You could try following this guide: https://www.reddit.com/r/DarkAndDarker/comments/164ycd1/workaround_for_dnd_on_steamdeck/?share_id=vRrCLo3EgQVppJ_d3bnel&utm_content=1&utm_medium=android_app&utm_name=androidcss&utm_source=share&utm_term=1
However, it seems like patches to Dark & Darker can break compatibility, it's happened at least twice since its launch off of Steam.
Also playing Dark & Darker with a gamepad can be difficult given how competitive it is and how you need to quickly react with sometimes complex button sequences. I played the game when it was on Steam on the Steam Deck a few times and it was tricky.
Is there an ARC launcher available anywhere ??
I want to play Star Trek Online , but don’t want to play the Steam account,
as I have an original ARC account with many hours progress I don’t want to lose 😎😎😎
Quick question. How do I update a launcher ?
I go to update and restart in bnet and it gives me error message
There seems to be issues, as of 05-25-2023, of the launchers not showing up in the library. Multiple comments on YouTube and GitHub. This has happened to me also.
Hi! Just got my Deck.
Question: what's the difference between this and Heroic Games Launcher? Which one should I use?
Ty!
The Heroic Launcher is a community-created launcher that wraps in Epic and GOG. It can have some issues, but it works really well for the most part. I would say if you only want GOG or Epic, Heroic is great.
Great guide! If you start a launcher before forcing it to use Proton, restarting the Deck lets you choose again.
That's what I had to do!